The problem (what we needed to fix)
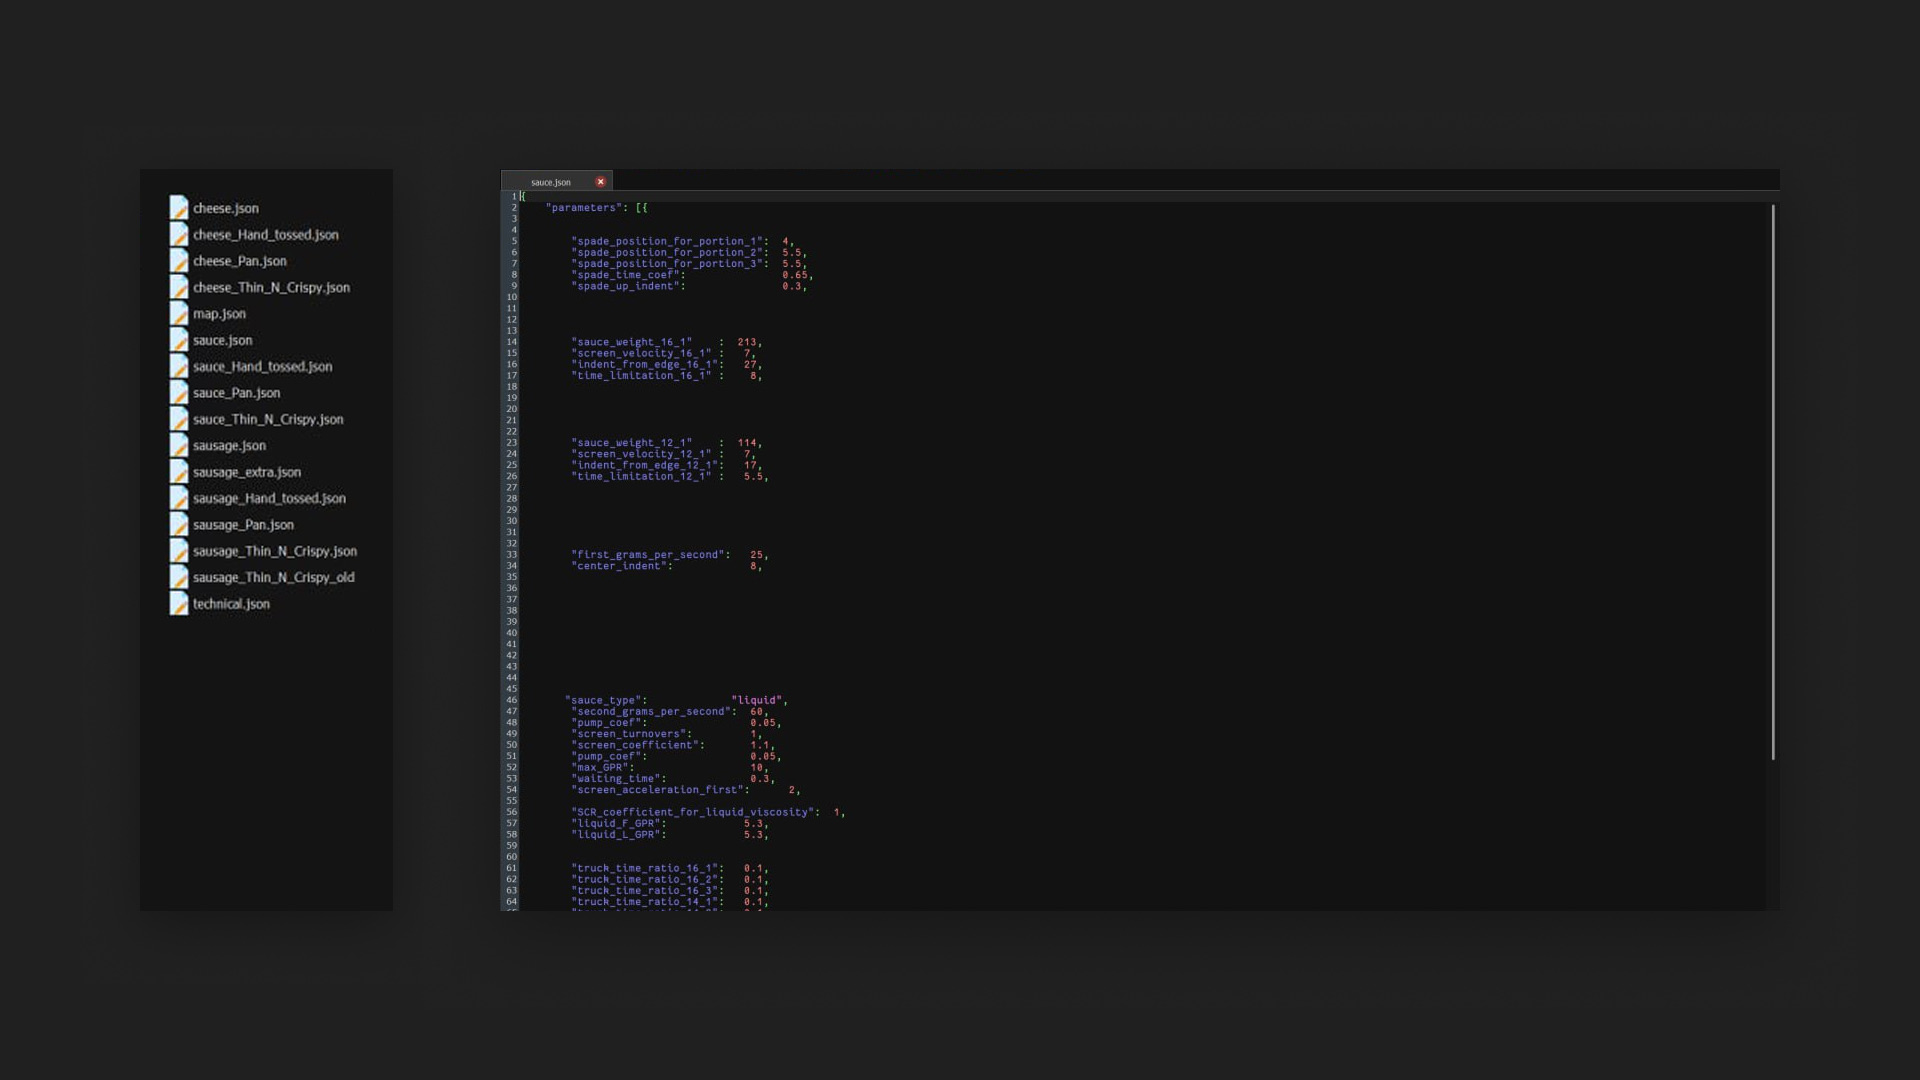
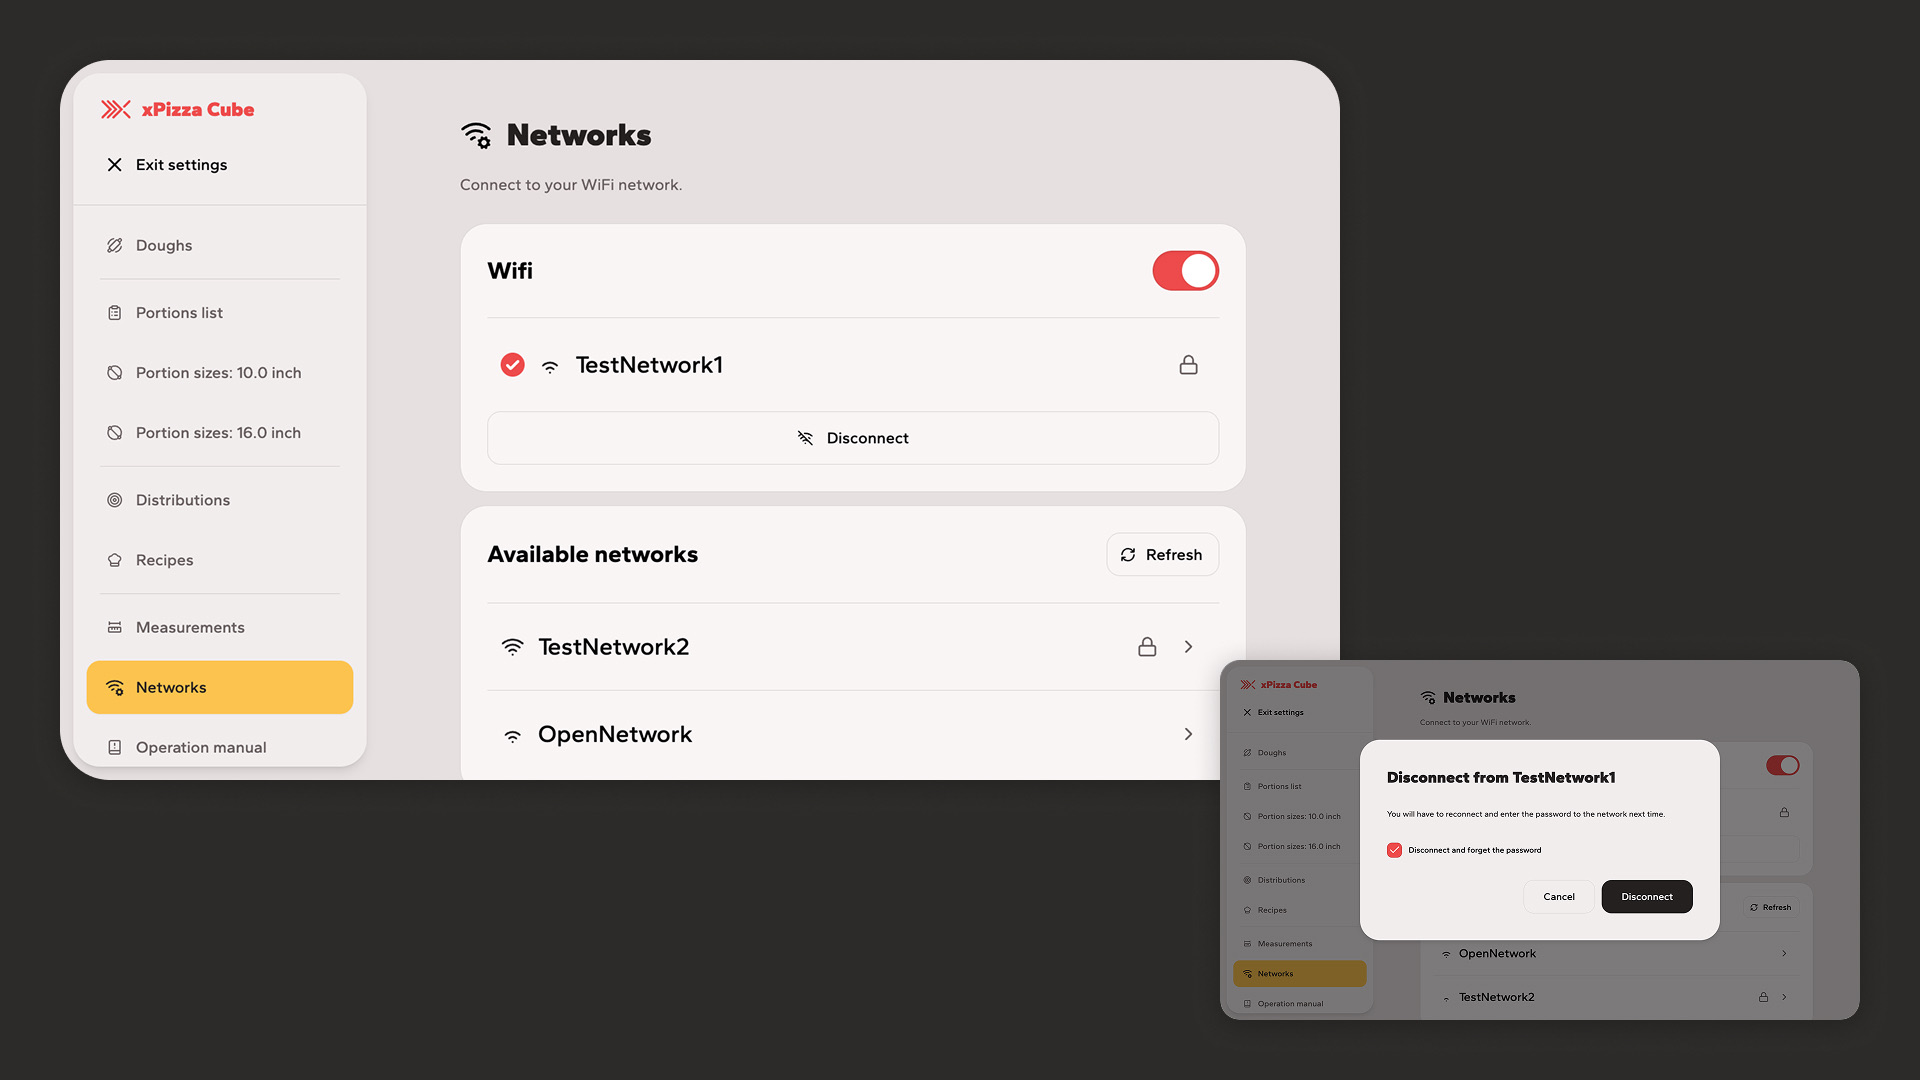
The xPizza Cube HMI originally offered only basic controls for launching the pizza-making process — no setup UI, no troubleshooting, no recipe configuration. Engineers edited JSON config files manually via remote connection; clients couldn't set up or test recipes themselves. There were no network settings in the app, no on-machine guides, and analytics were compiled and sent by the team manually. Support load was unsustainable.
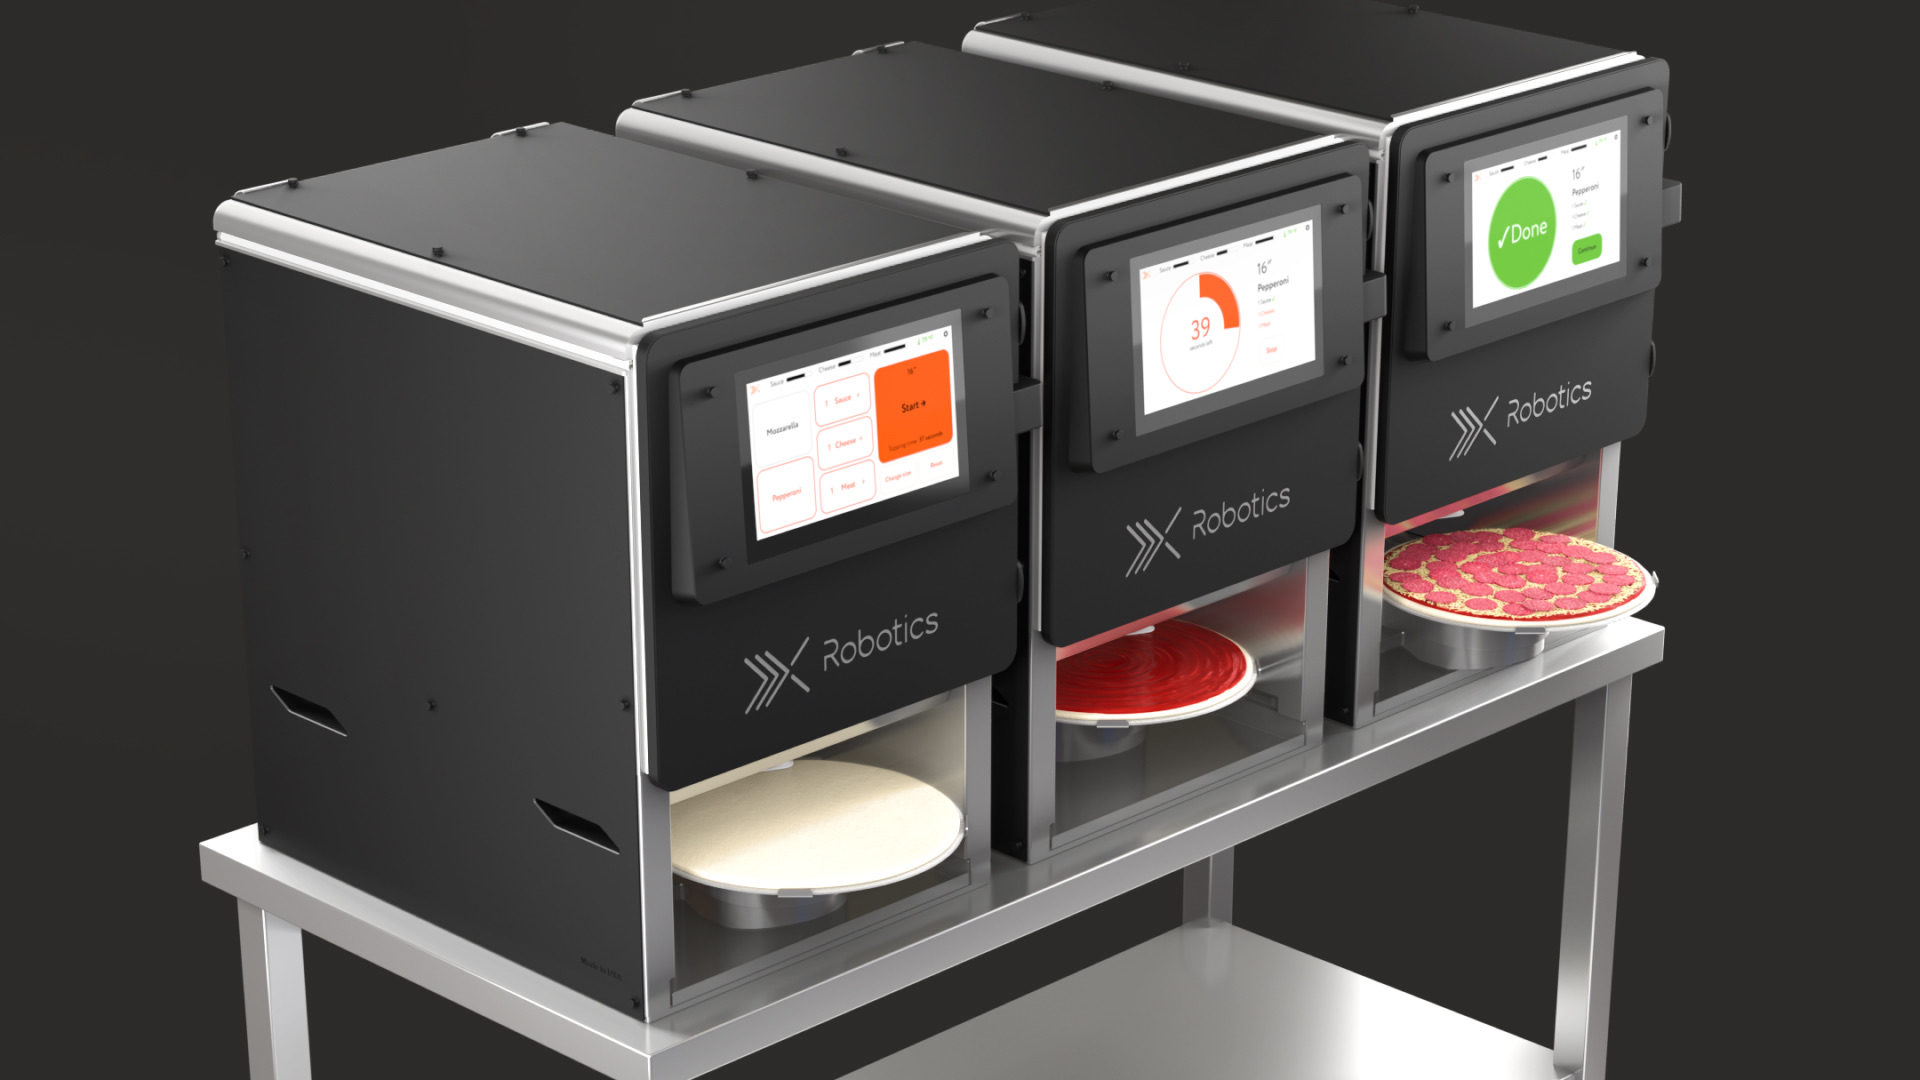
The initial task was to design recipe settings. After interviewing stakeholders I discovered the real scope: the main team was overwhelmed by requests for machine setup, troubleshooting, and issues that shouldn't exist if staff had proper guidance. The friction didn't scale.
Goals for this phase:
- faster onboarding for new clients,
- less support load driven by setup mistakes,
- a repeatable recipe setup workflow that operators can validate before production.
Conditions and constraints
Touchscreen on the Cube is quite big and resolution is plenty (13 inches, 1920x1080 pixels). That allowed us to design a more complex UI with more features and fewer constraints for the settings.
Existing control layer (running the machine, monitoring the status, etc.) was designed with large buttons and simple UI elements. Settings UI could be more complex and verbose but should be still easy to use. However, troubleshooting is usually done in a more stressful environment (under pressure, in rush hours, etc.) and needed to accommodate for that.
I had to make sure the setup process was as simple and as foolproof as possible but at the same time it should be left for the operators to adjust the settings to their needs. Any unavailable setting meant the Cube wouldn't be accessible for hours while waiting for the engineer to change the config.
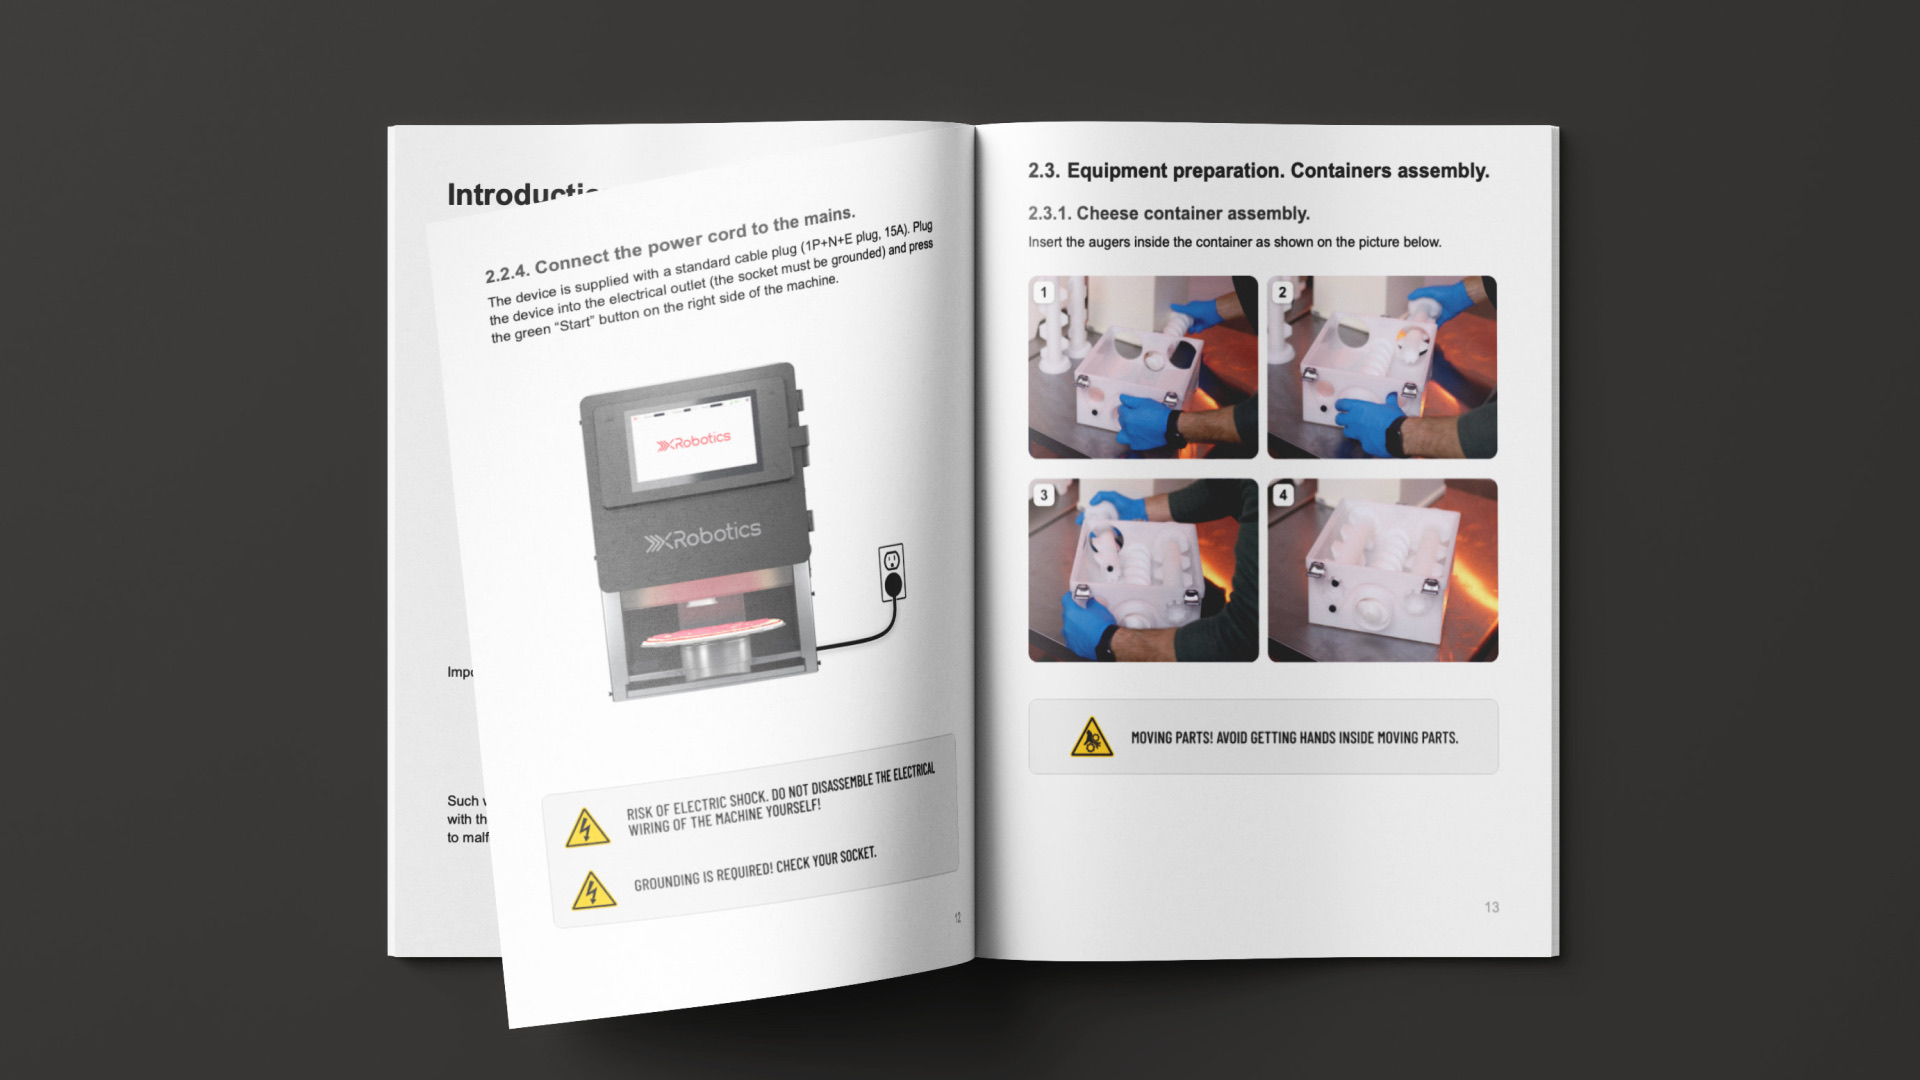
Some troubleshooting and maintenance work could be done by using the paper manual. However, it can be lost or forgotten. Also, while doing cleaning and maintenance work, the machine should be turned off at all times.
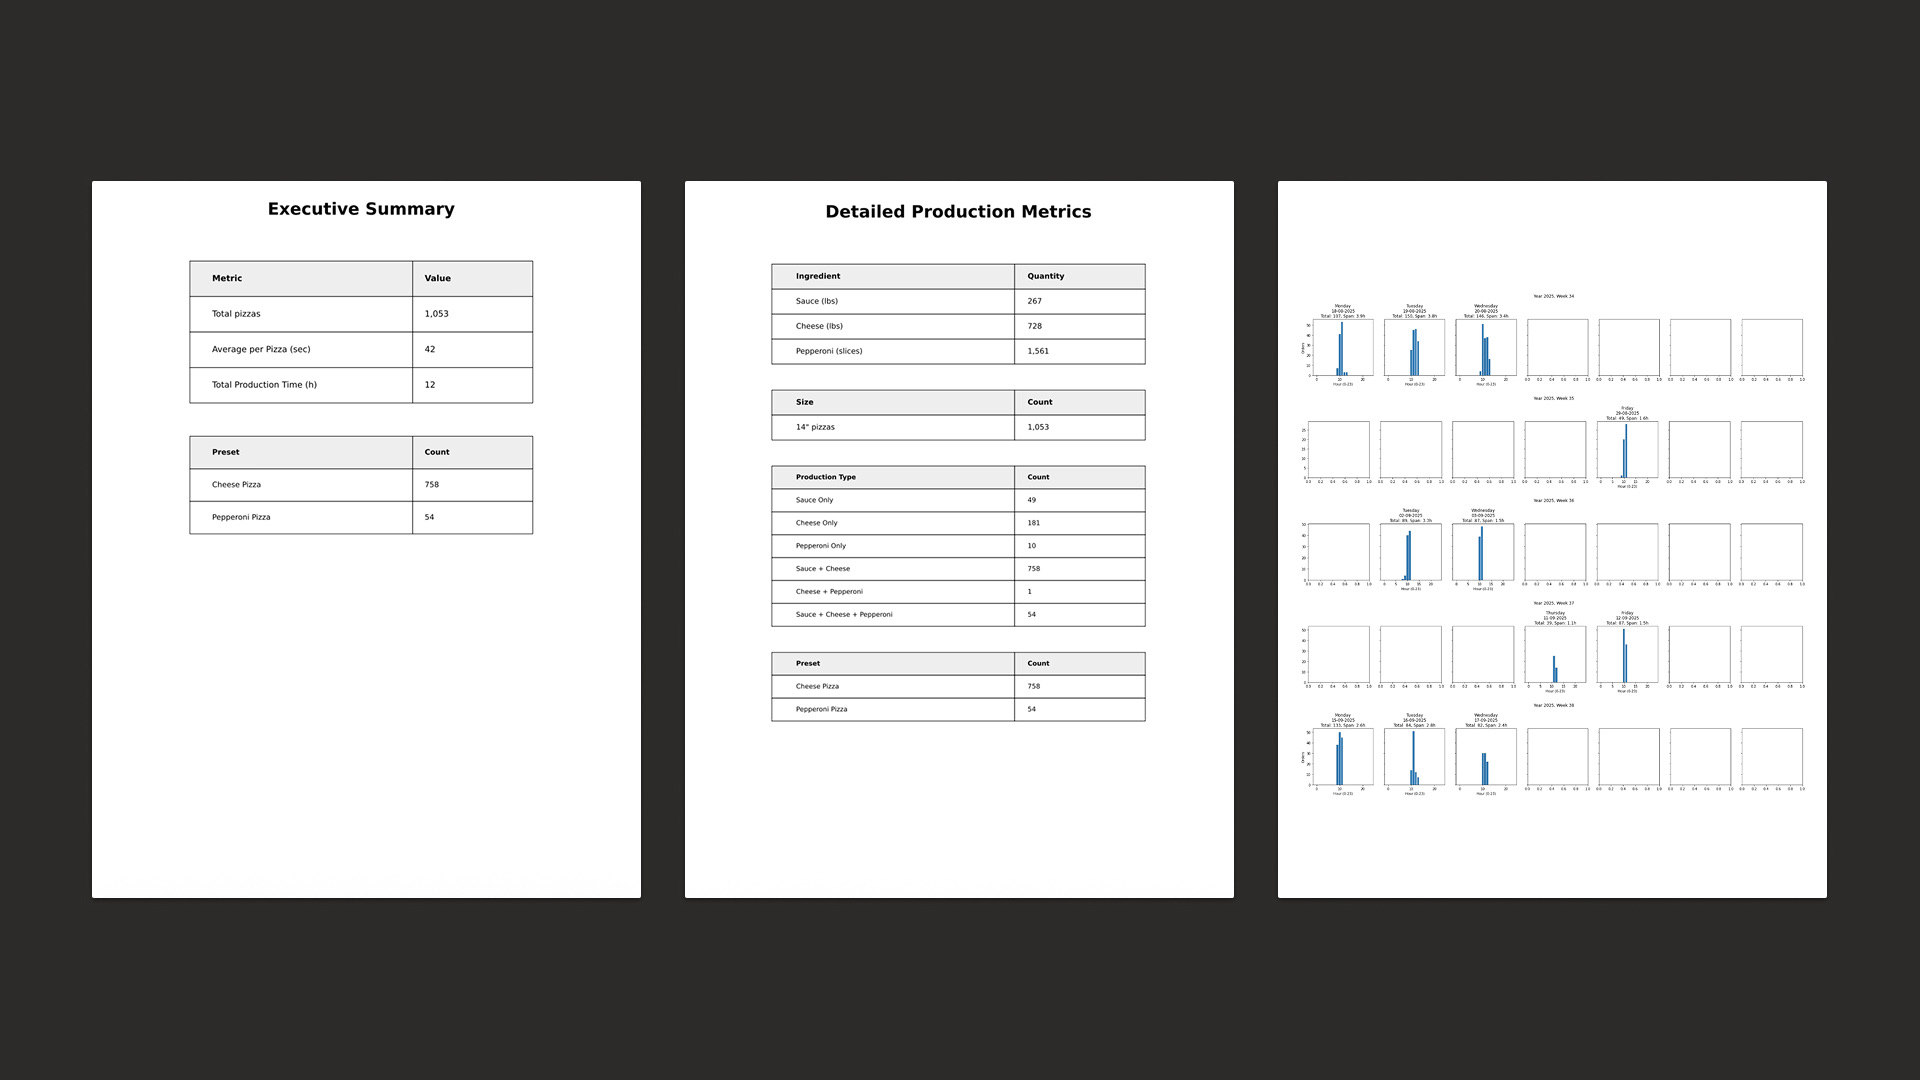
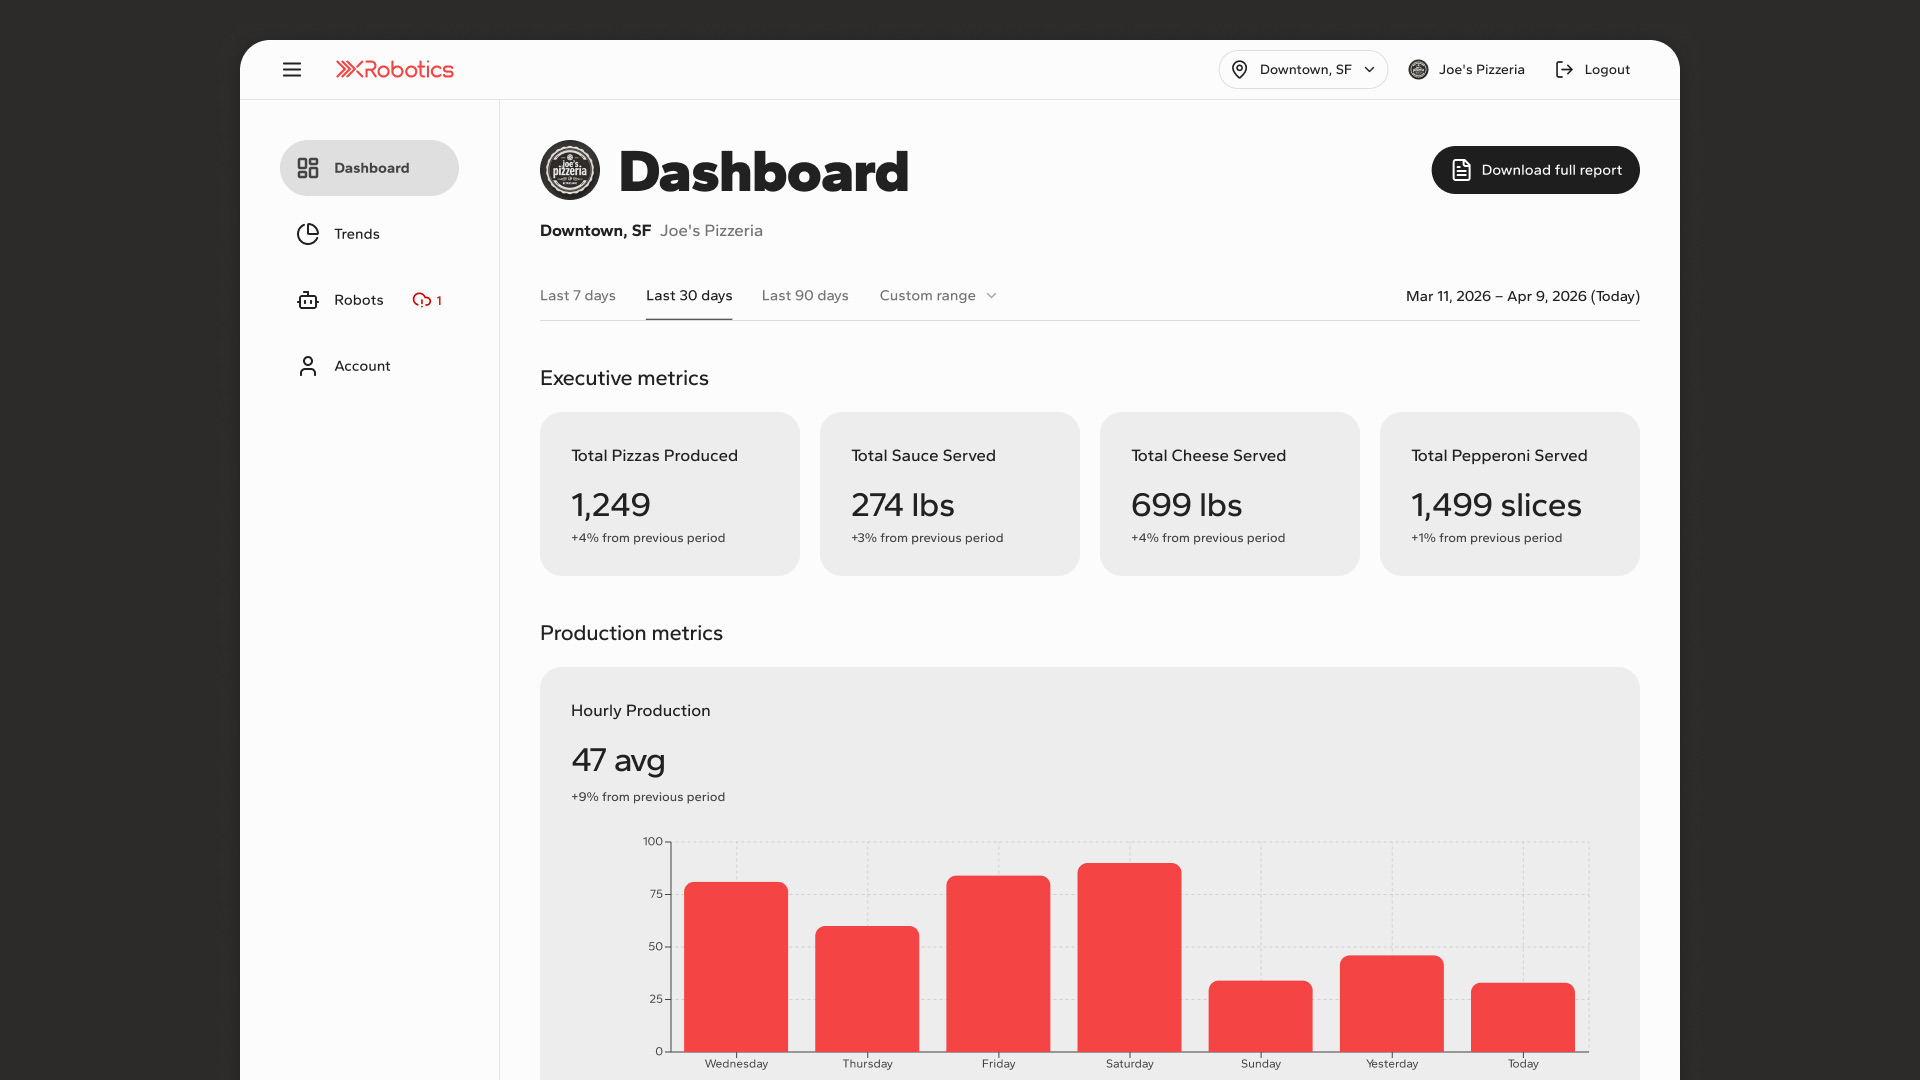
Analytics reports were taking a lot of time from the support team and clients wanted up-to-date information on the machine performance.
It was also necessary to address the risks associated with misconfiguration and the precision of the machine. More details on these topics are provided in the sections below.
The approach (prototype first, ship what works)
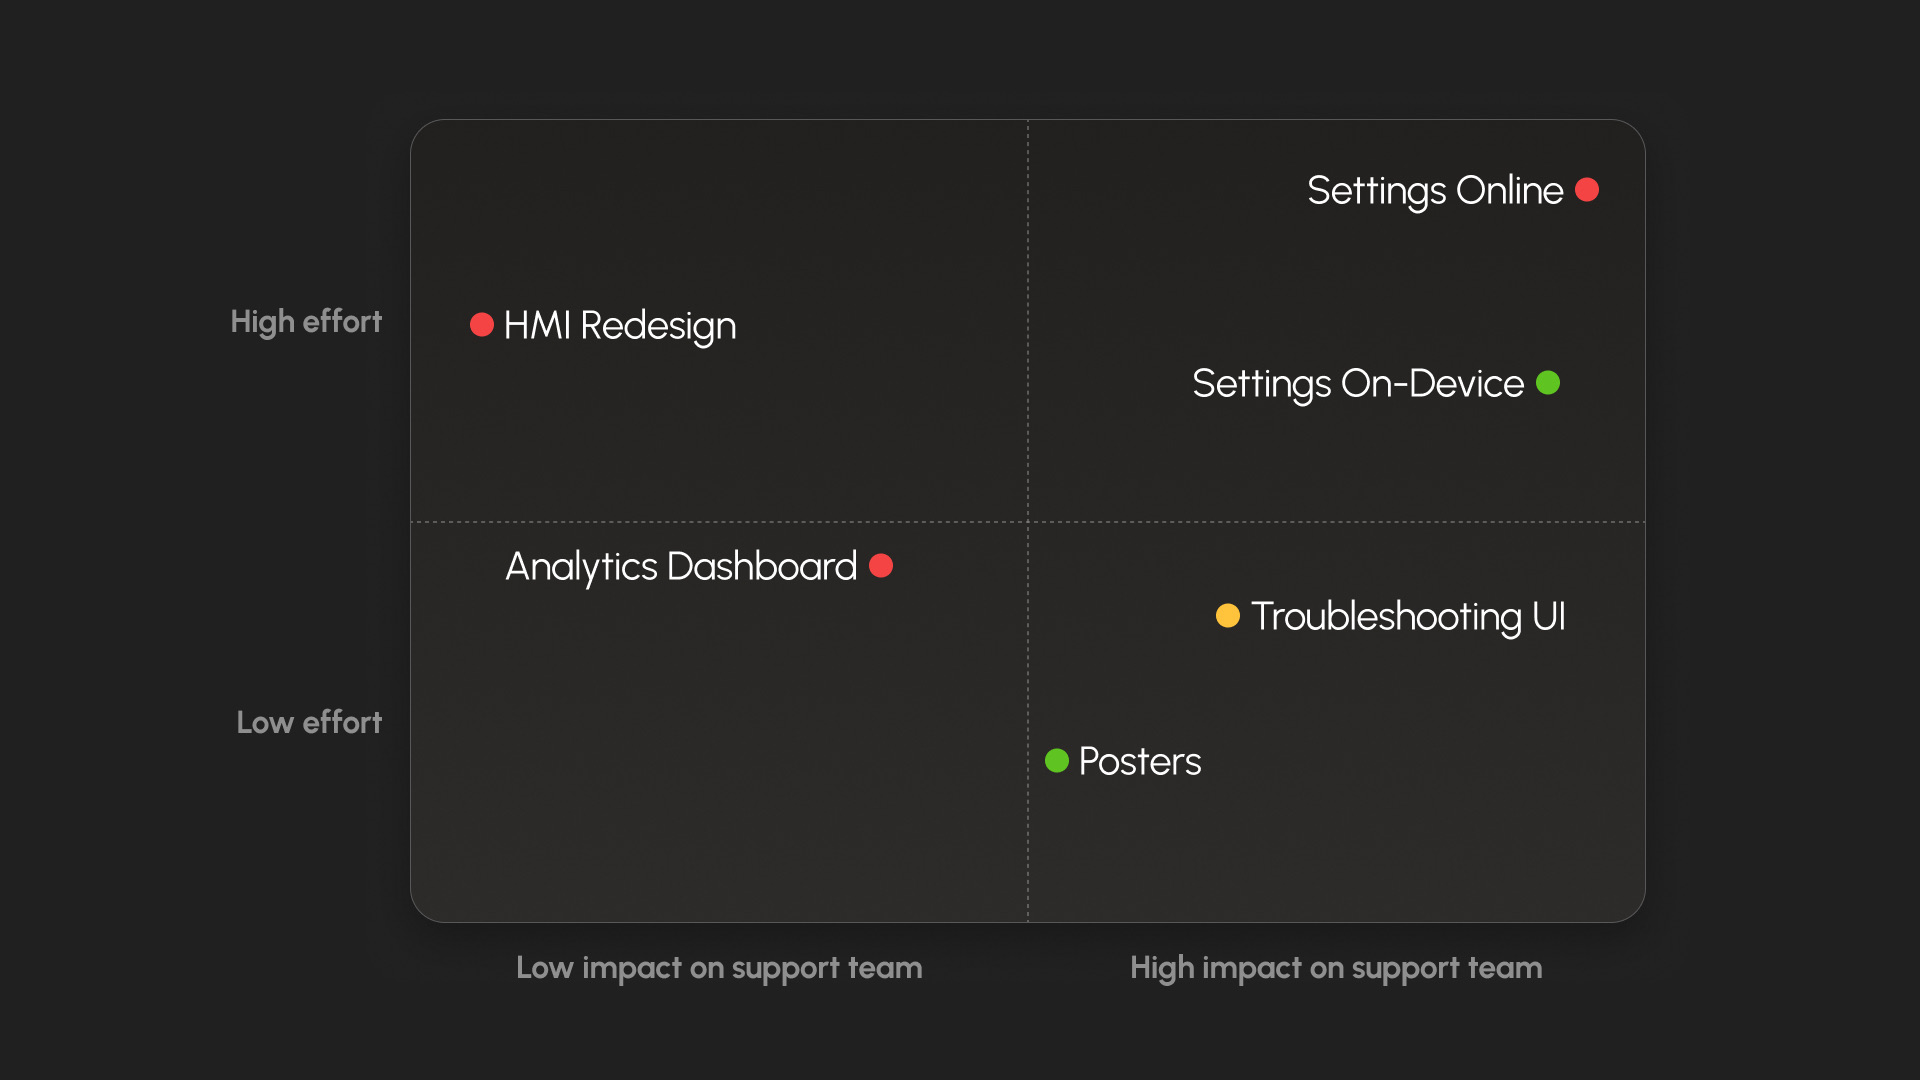
We chose a web UI with a phased rollout. Interviewing stakeholders before committing to implementation let us see the bigger picture and make strategic decisions upfront.
- Settings — guided recipe, portion, dough, and onboarding configuration via API.
- Troubleshooting quiz + on-device manuals — reduce downtime and support calls by enabling staff to troubleshoot on location.
- Redesigned operator UI — real-time calibration feedback, WebSocket layer, and architecture decoupled from core machine control.
- Dashboard/analytics — online fleet performance visibility for executives.
- Fleet settings management — bring configuration to the online platform.
Prototype-driven: validating setup flows before building
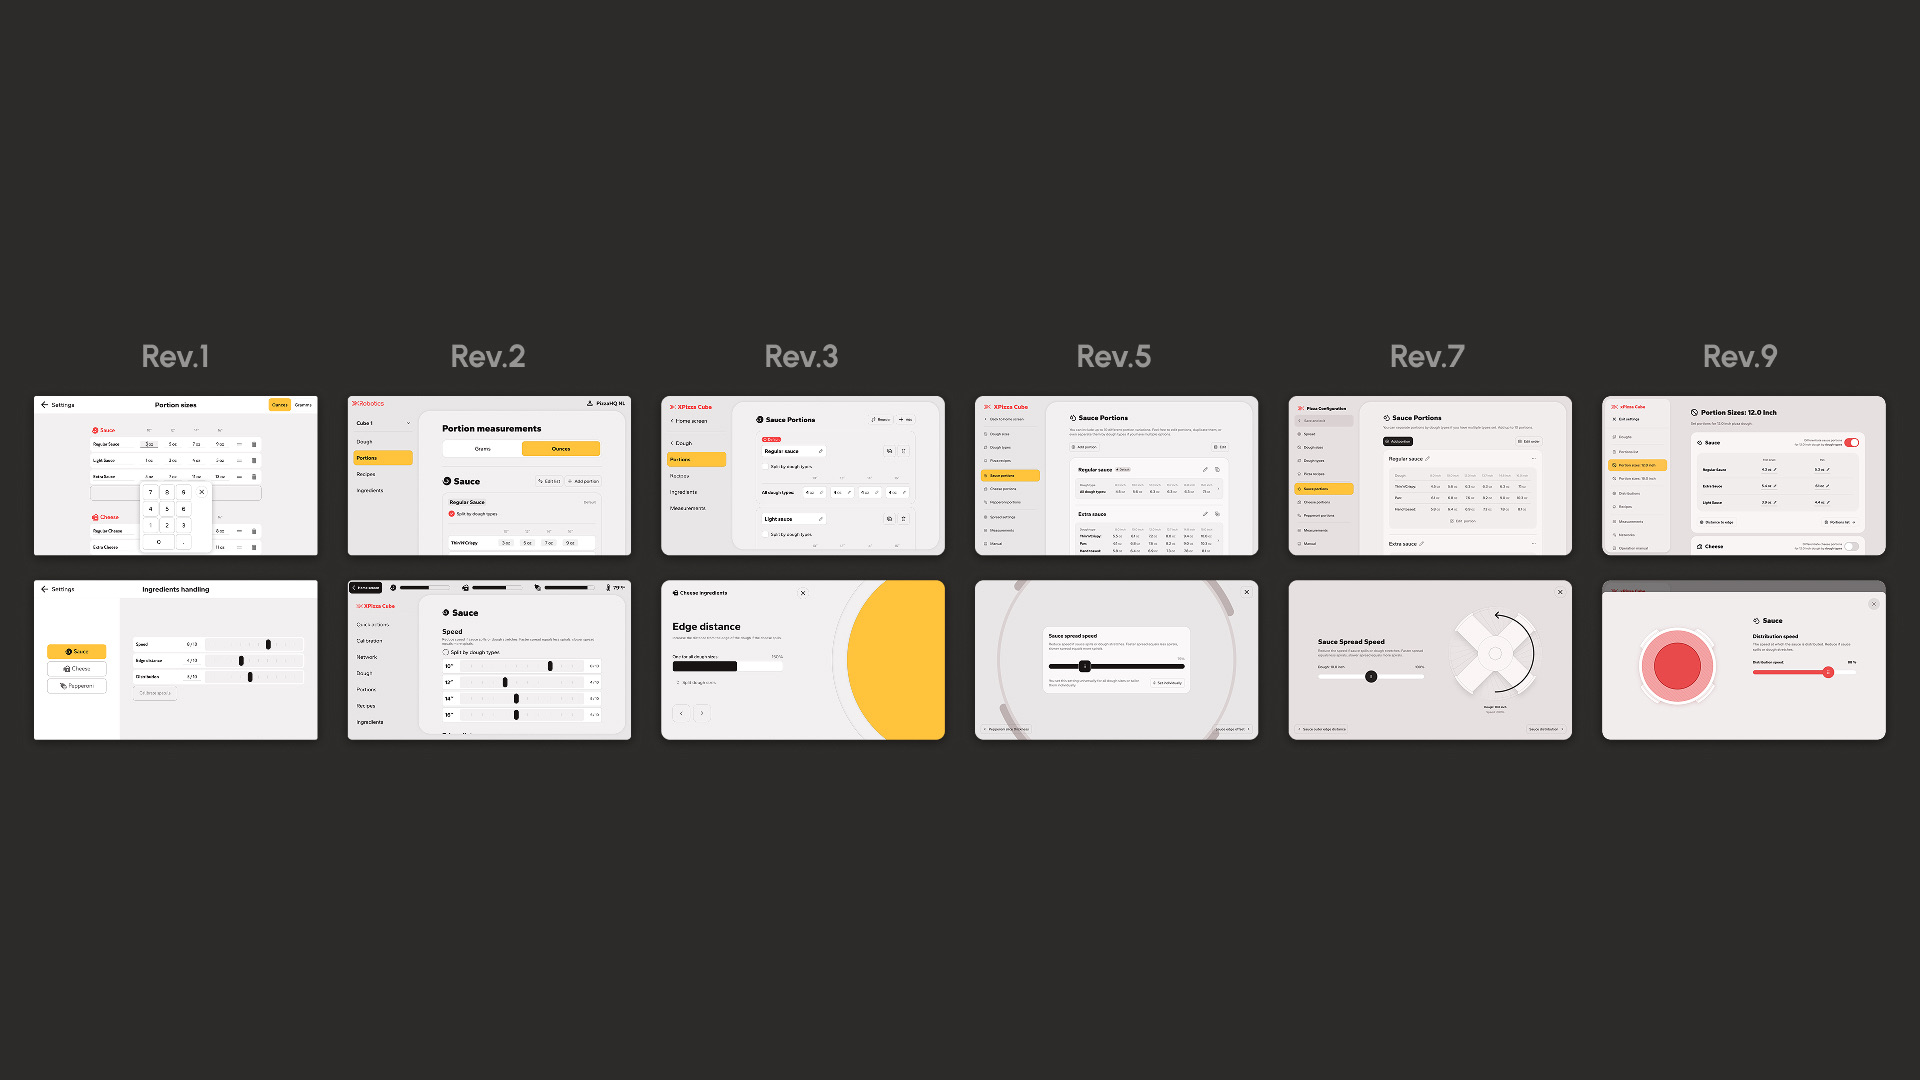
Before writing any production code I prototyped the key setup flows — step order, guardrails logic, error paths — and tested them with the team and clients. Prototypes answered the questions that specs couldn't: where operators are comfortable to start, where they hesitate, which defaults are safe, what happens when a value is out of range. Only after those were validated did I move into implementation.
I owned both the UI and the API server — design and data contract evolved together. The settings UI ships as an embedded webview alongside the existing HMI; the interface is identical regardless of how it's hosted, and the path to a fully standalone app remains open.
Troubleshooting quiz + manuals (reduce "panic troubleshooting")
Two complementary approaches:
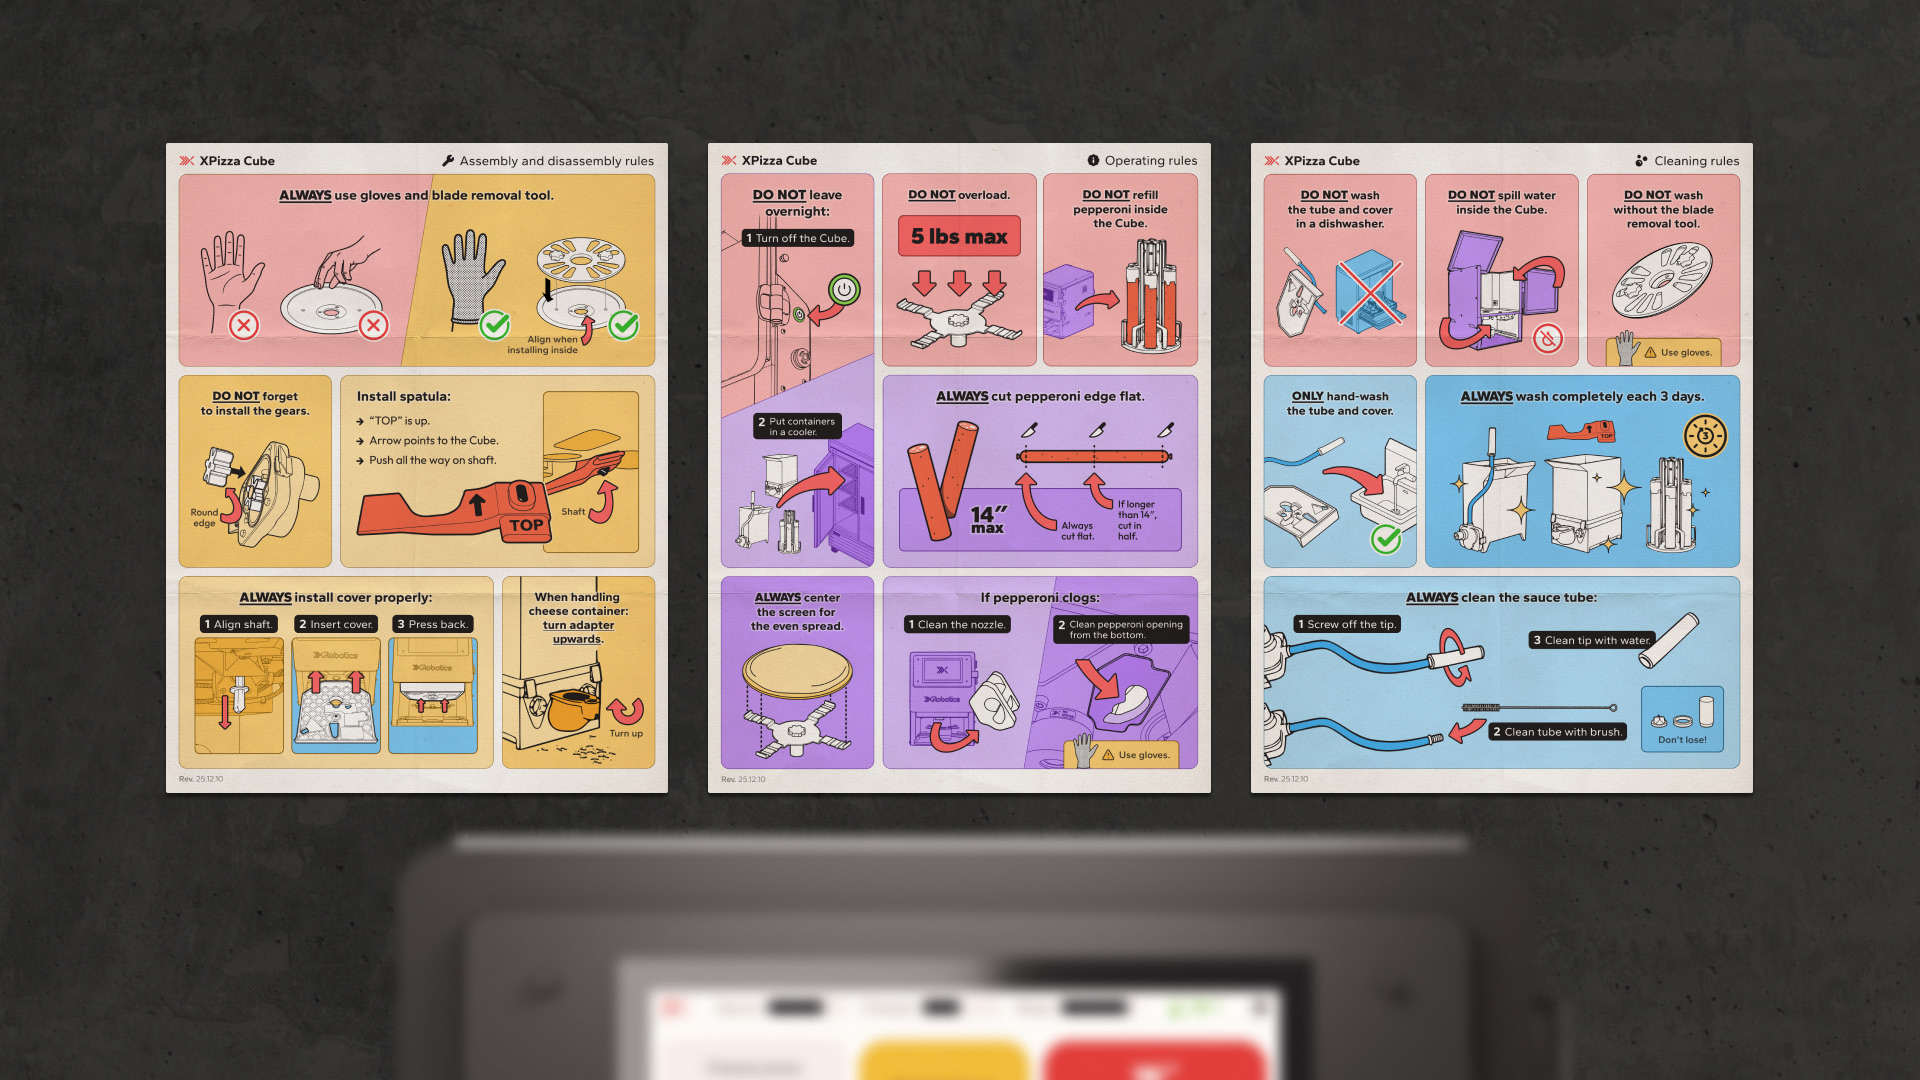
- Immediate solution: print-ready visual guides (posters) that work even when the machine is off.
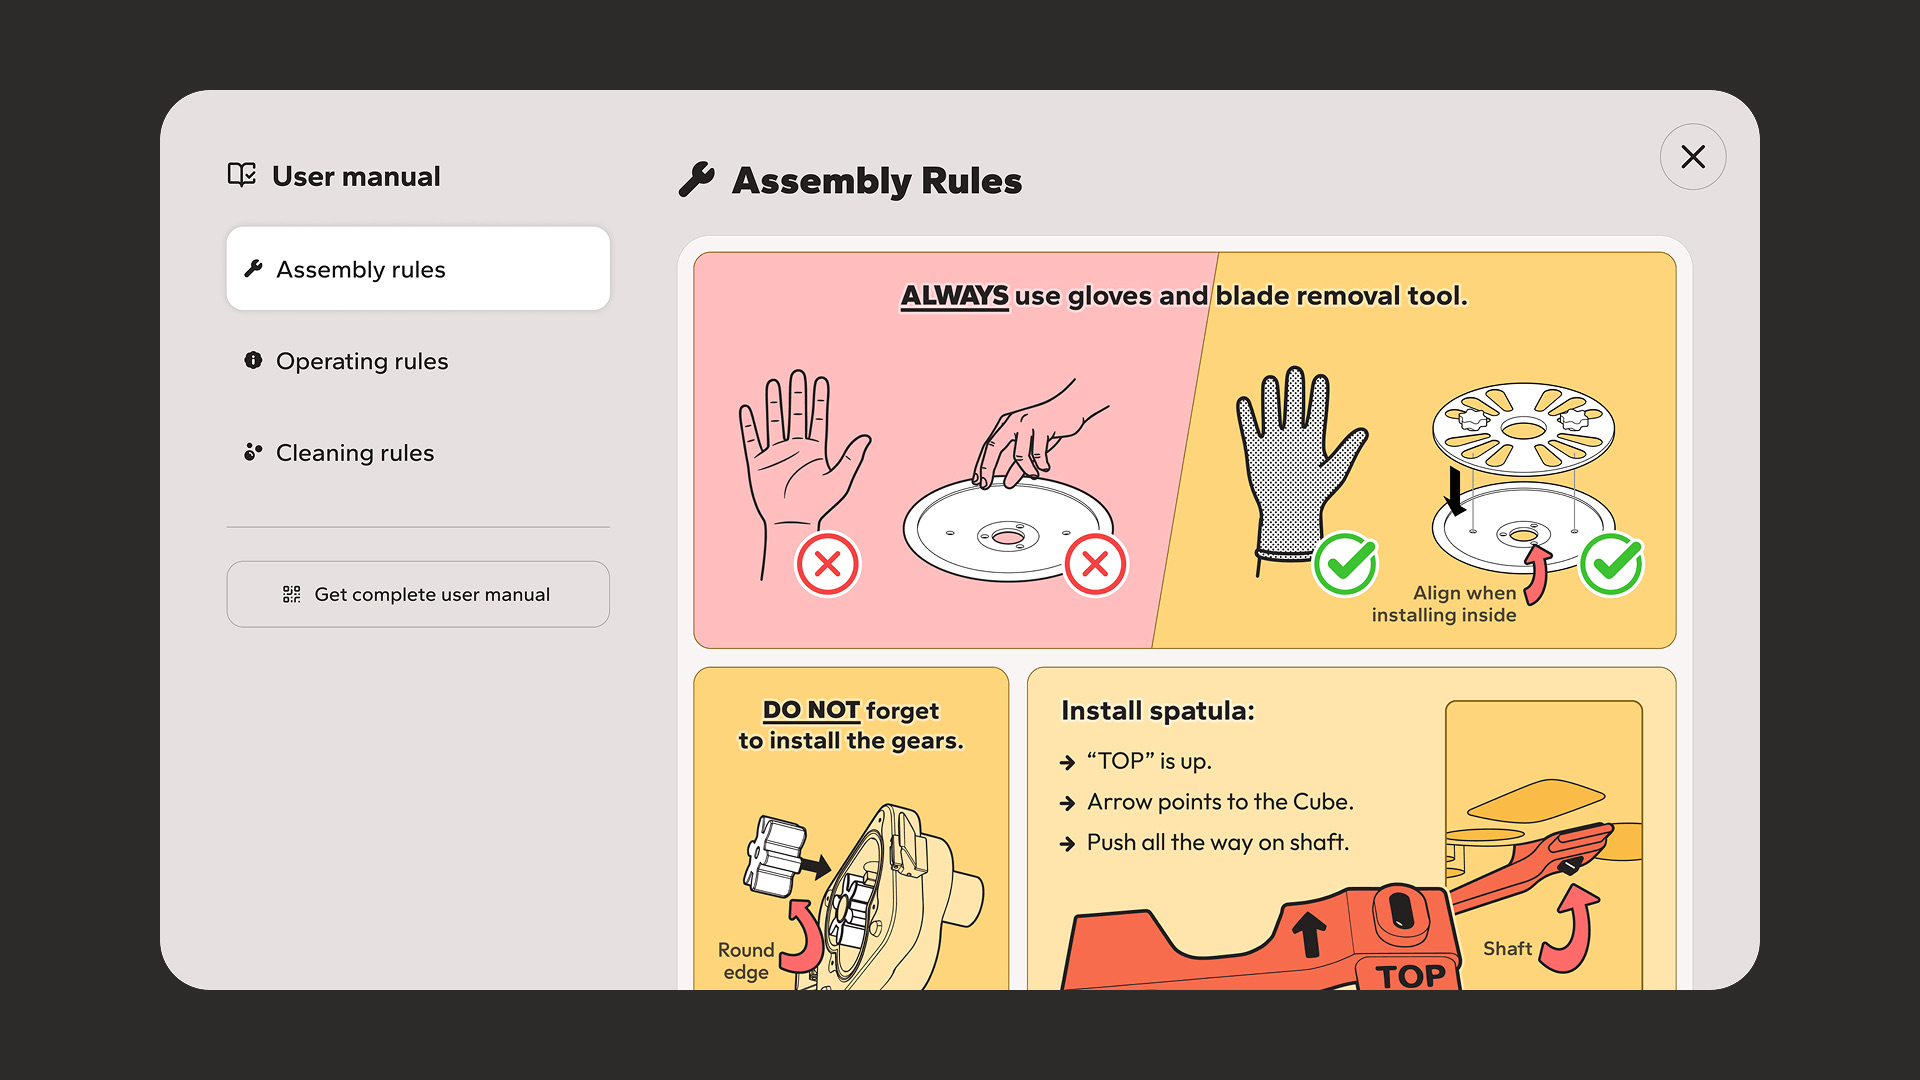
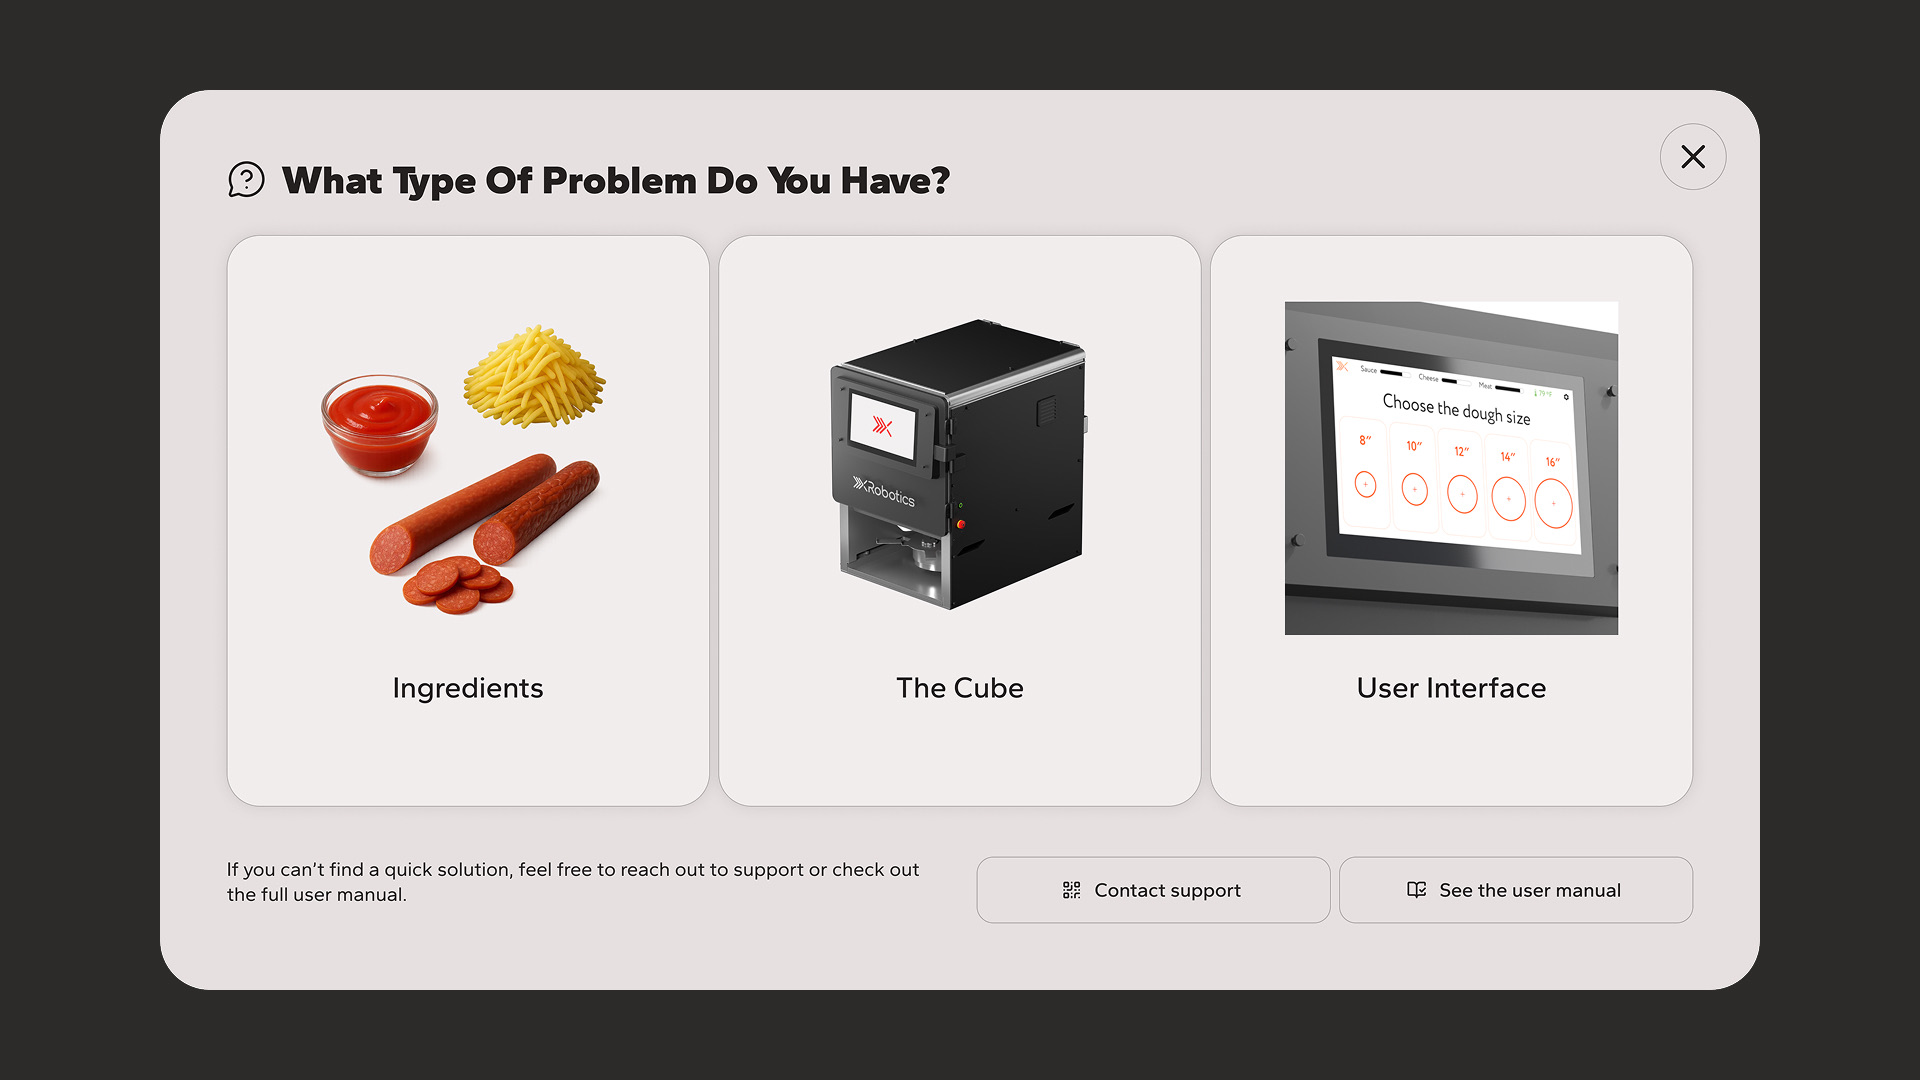
- On-machine solution: a troubleshooting quiz and embedded FAQs — serial number location, manual link, legal info, and other frequently repeated questions.
UX and implementation decisions that made it feel production-ready
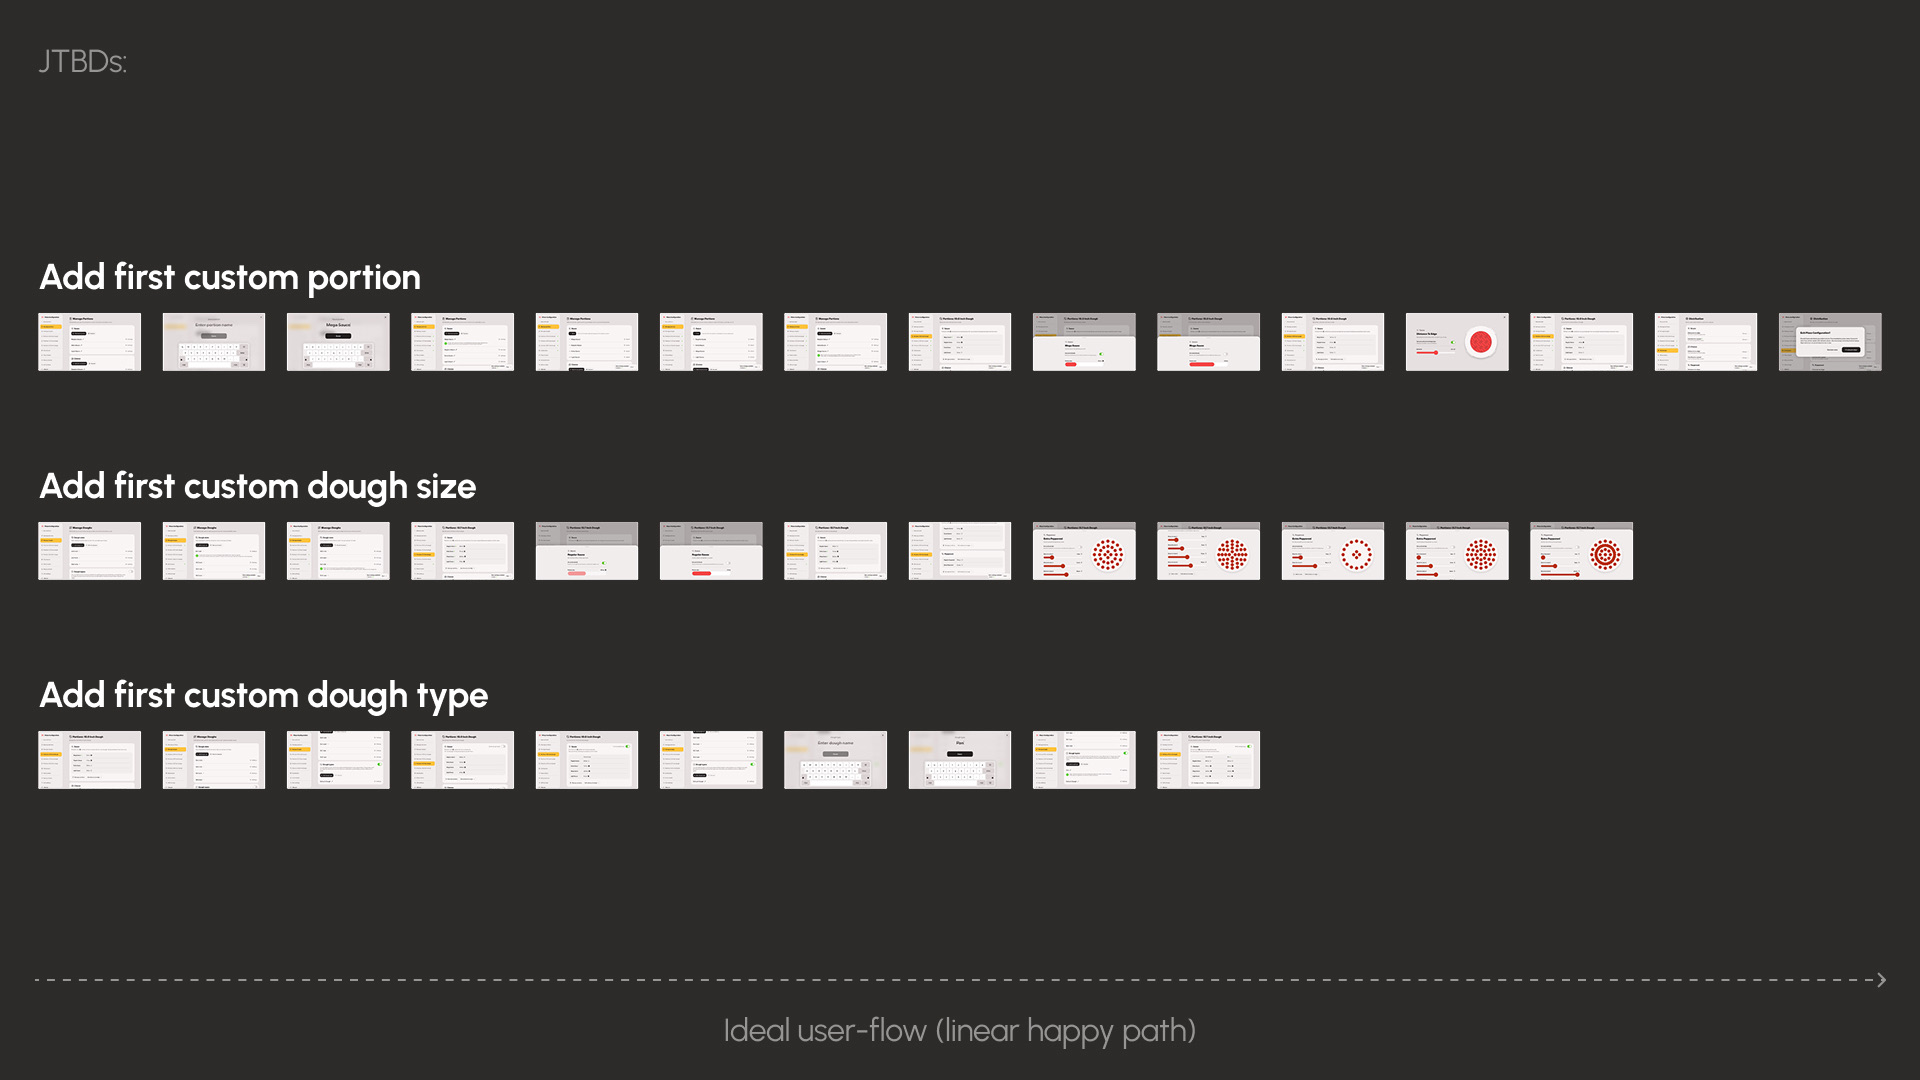
Job-To-Be-Done (JTBD) approach
We started with information architecture and prototypes, but switched to a job-to-be-done framework once the system grew too complex to reason about as a flat UI tree. By that point I had built the first version of the app in code which allowed faster iteration and validation with a fully functioning app. For machine setup in particular, the same screen serves very different goals depending on context — first-time configuration vs. adjusting a live recipe — which a flat screen map can't capture.
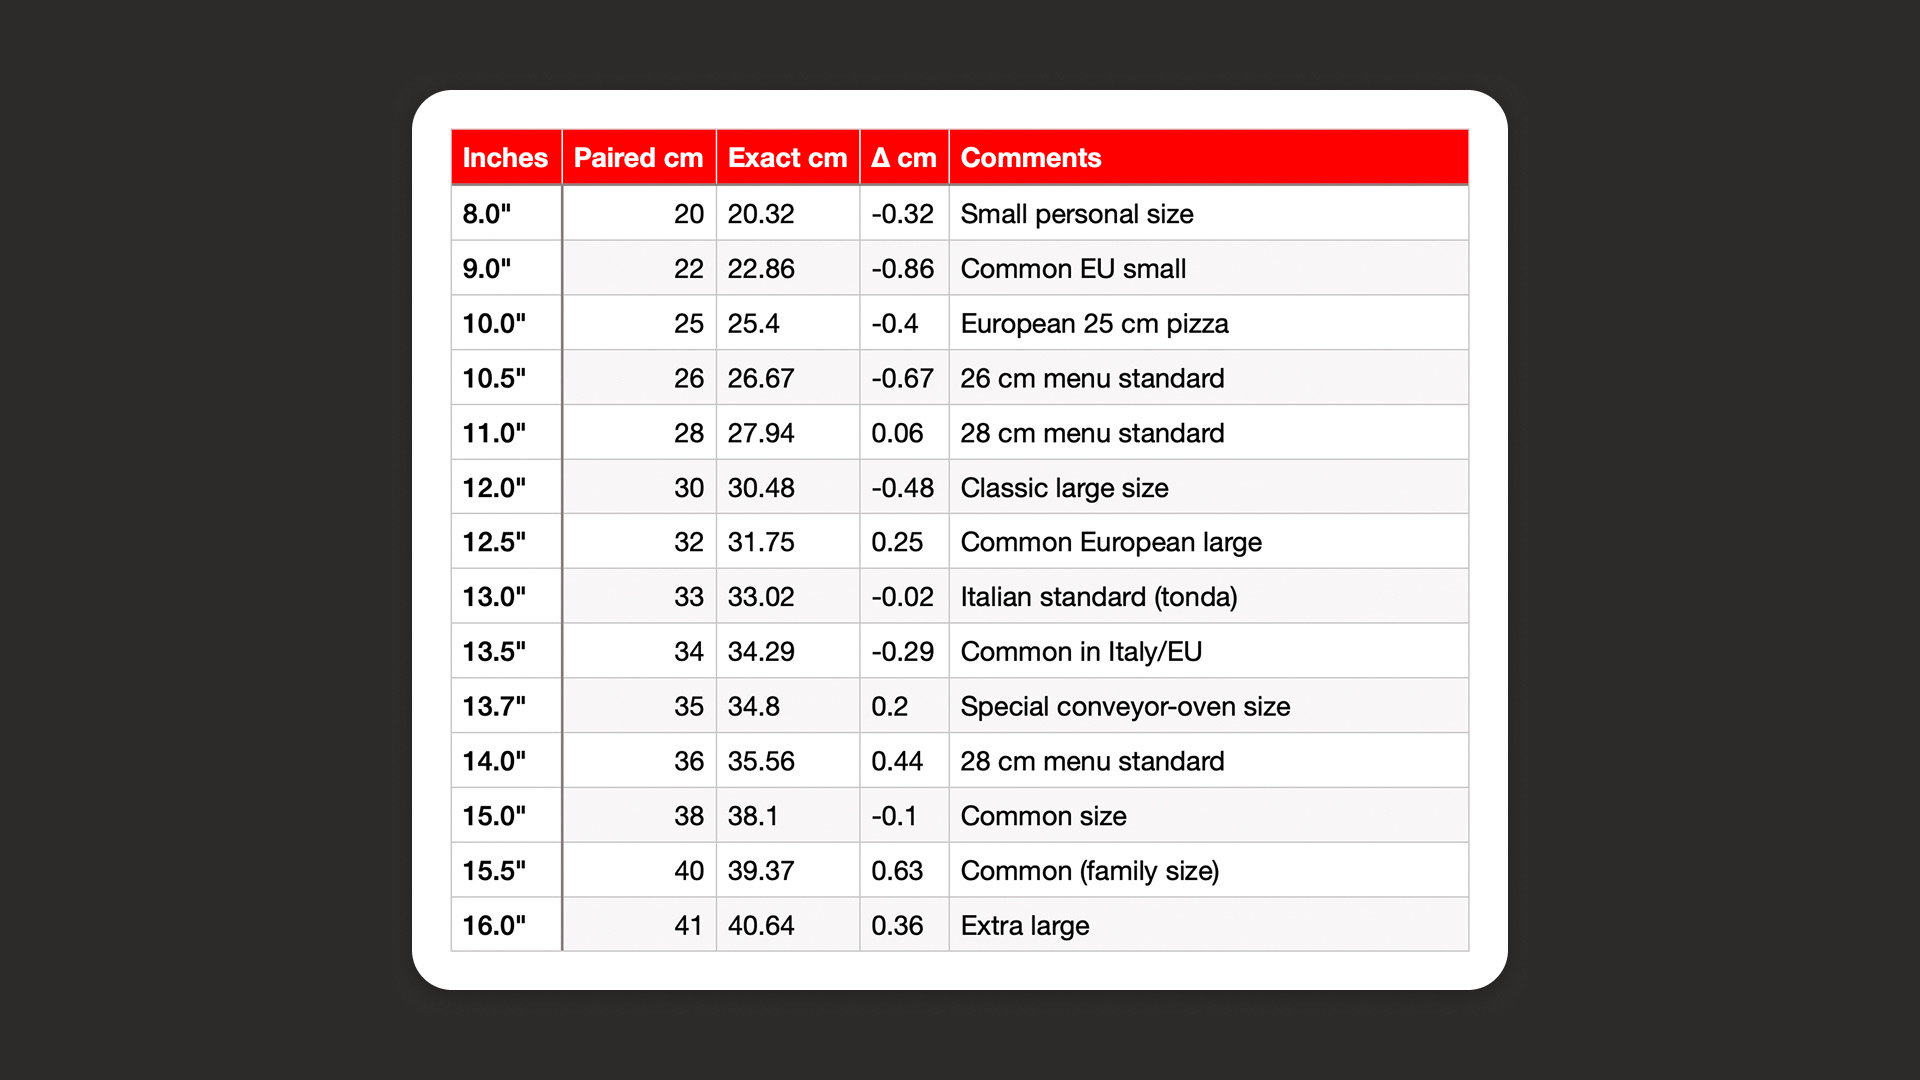
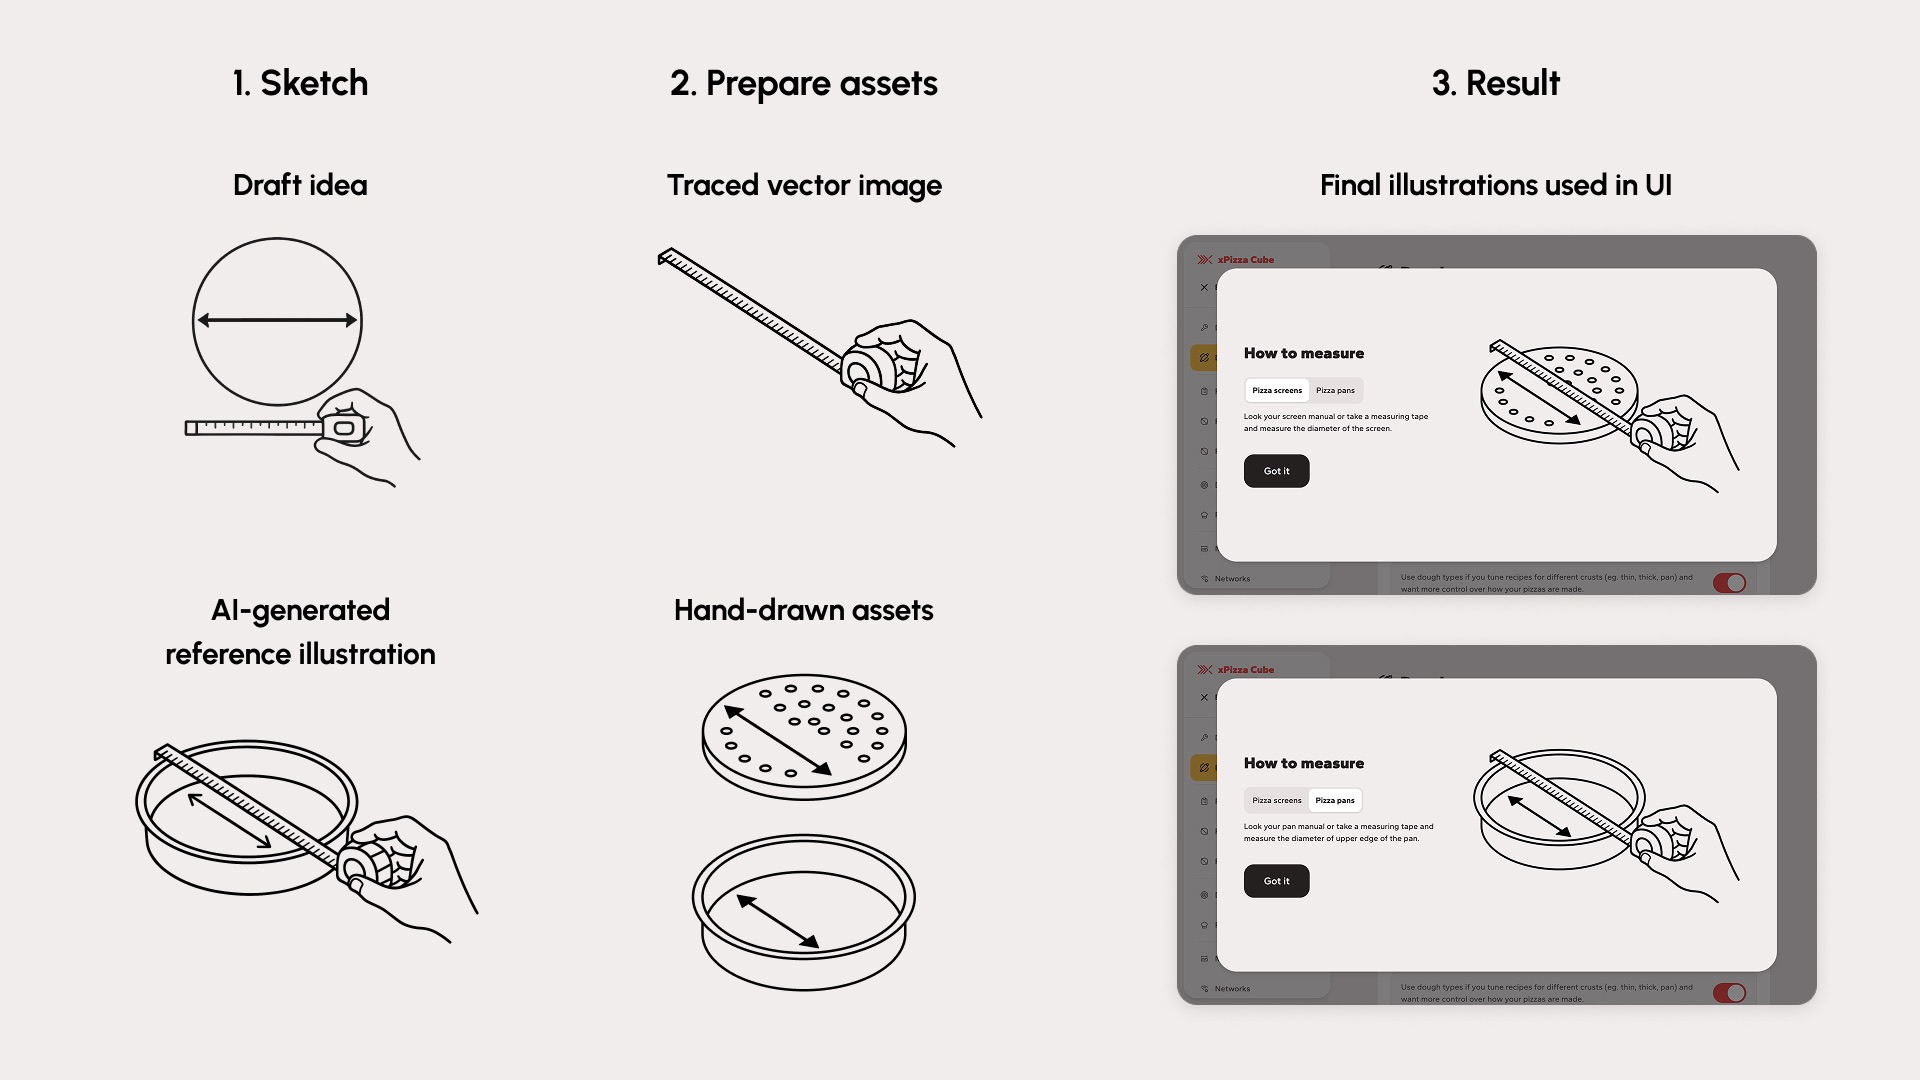
Testing prototypes showed that operators weren't sure what values to enter for dough sizes. We changed the input type from number to a dropdown with the most common sizes and added a handy "How to measure" illustrated guide.
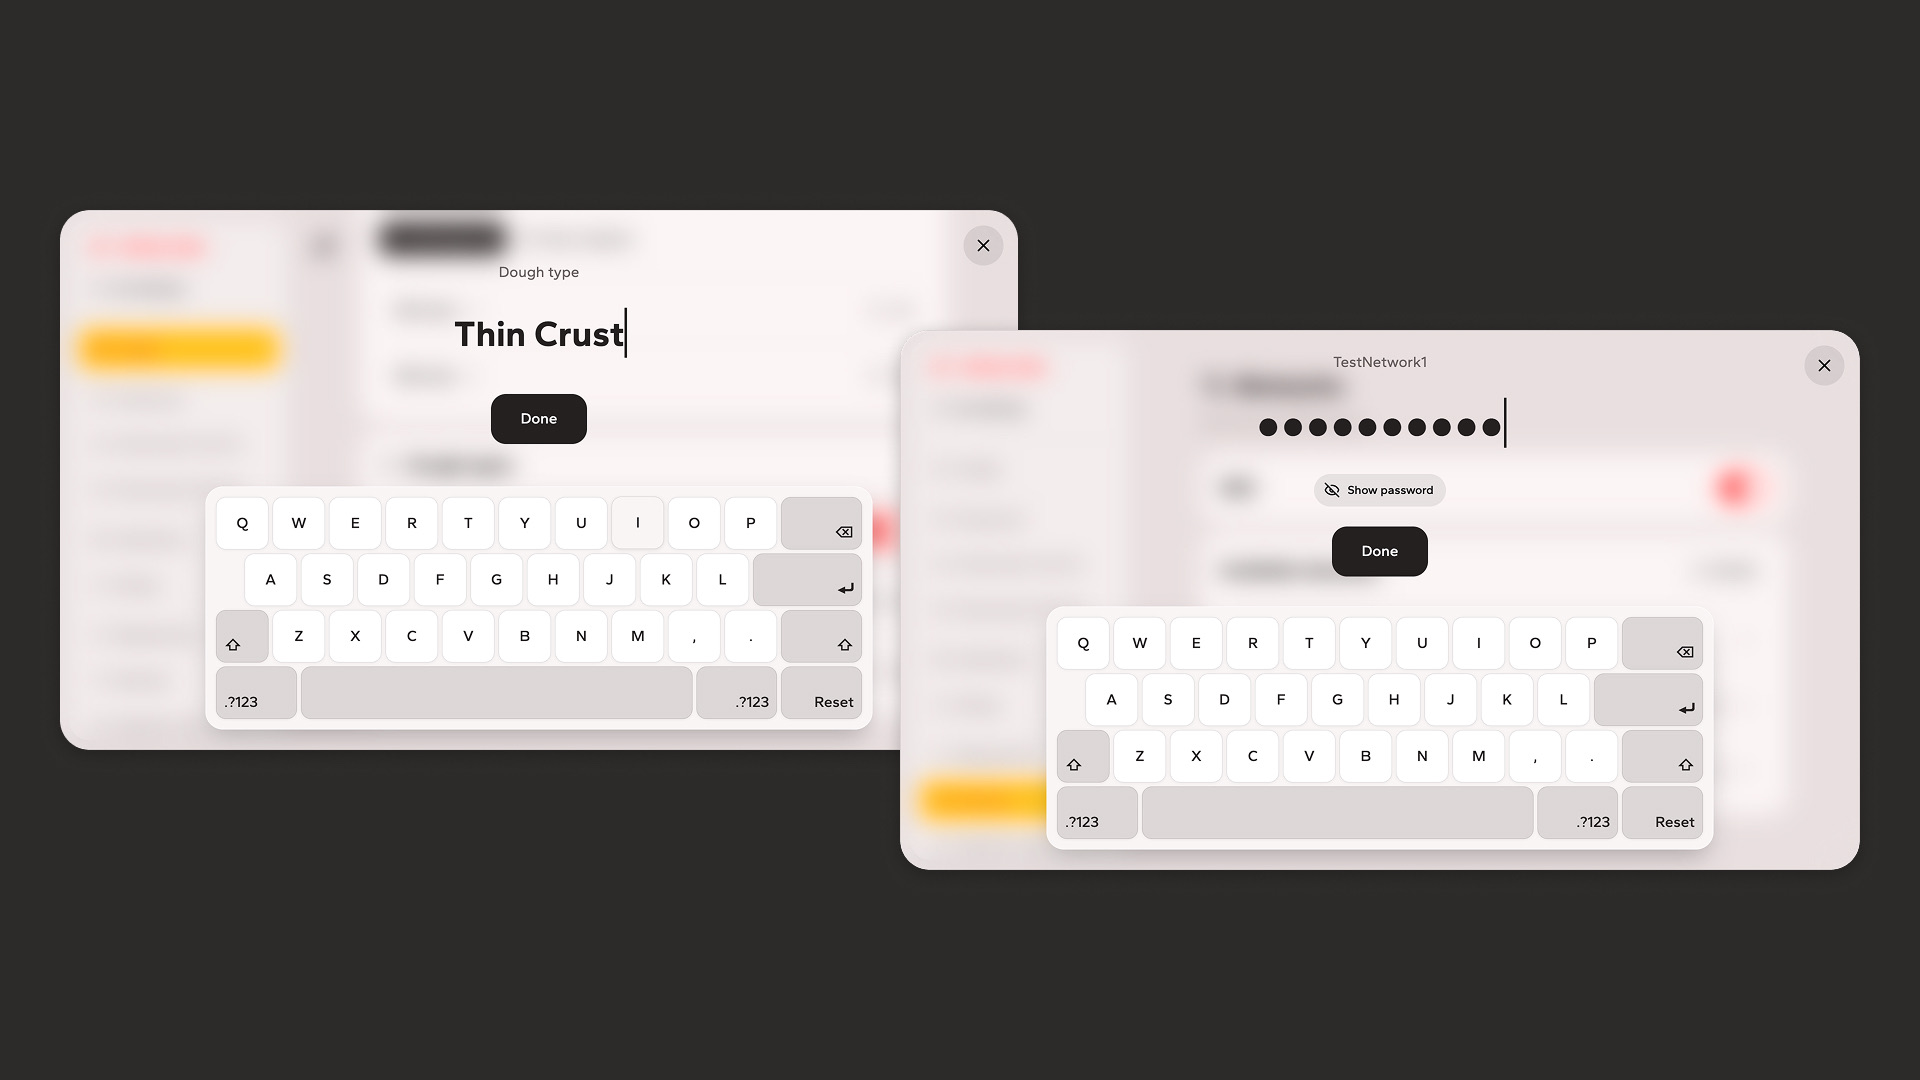
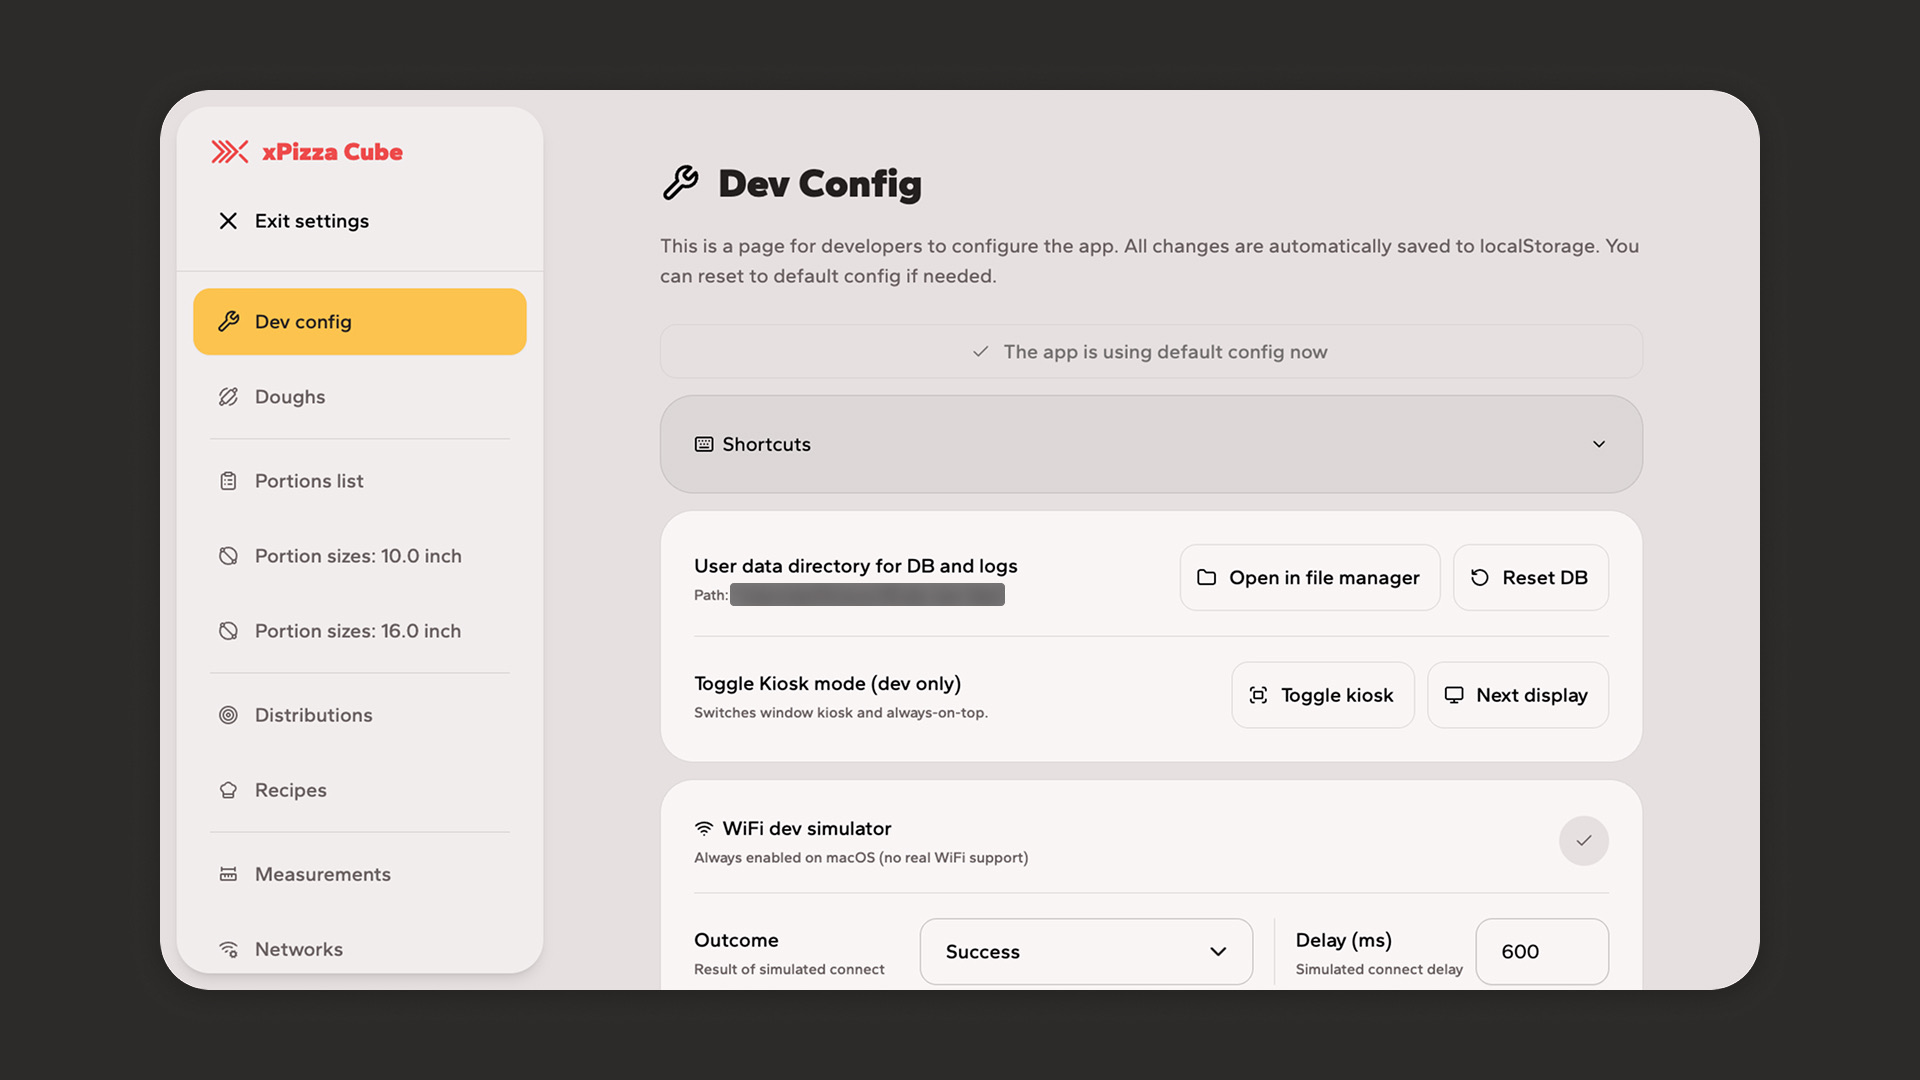
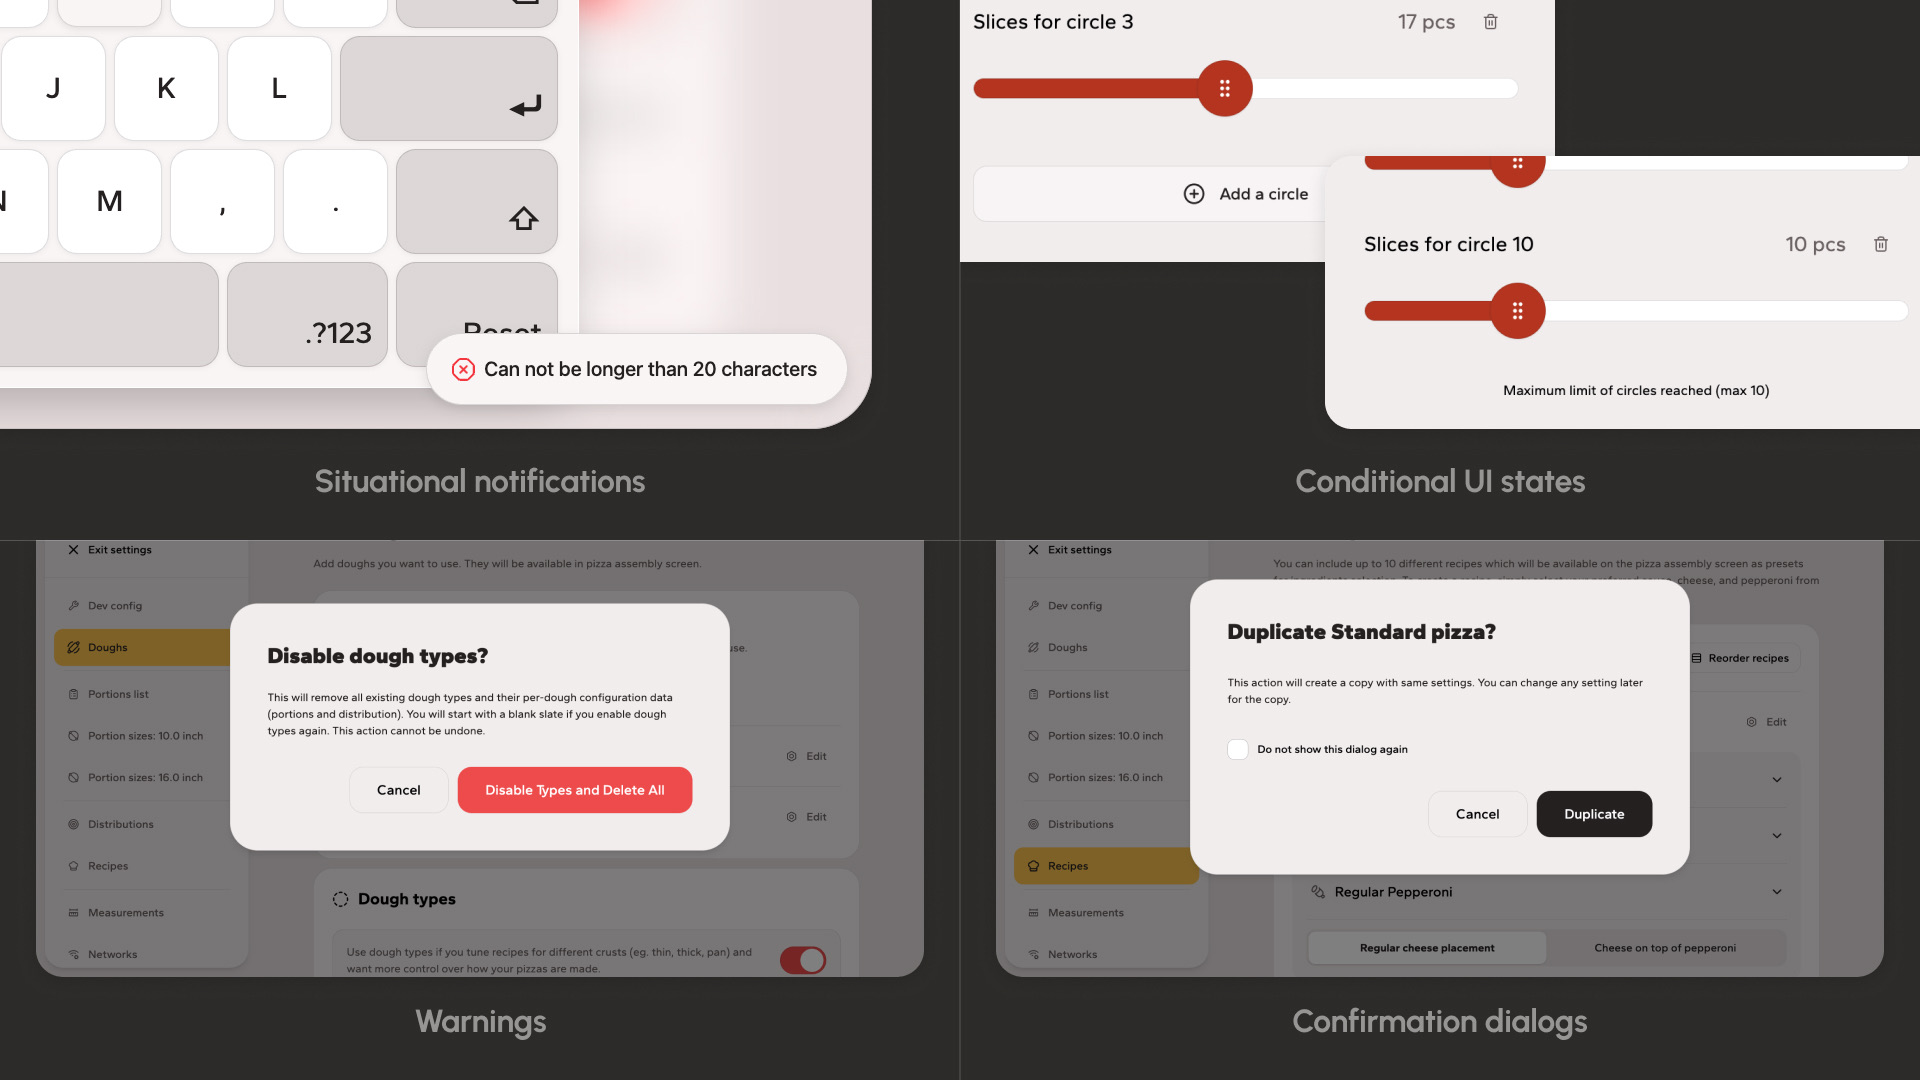
The Cube runs on Ubuntu Linux, however the UI should be isolated and all settings should be done in a kiosk mode with custom controls, including on-screen keyboard. The react-simple-keyboard library was adapted for touch-screen interaction.
SVG-based visualizations (making distribution settings readable)
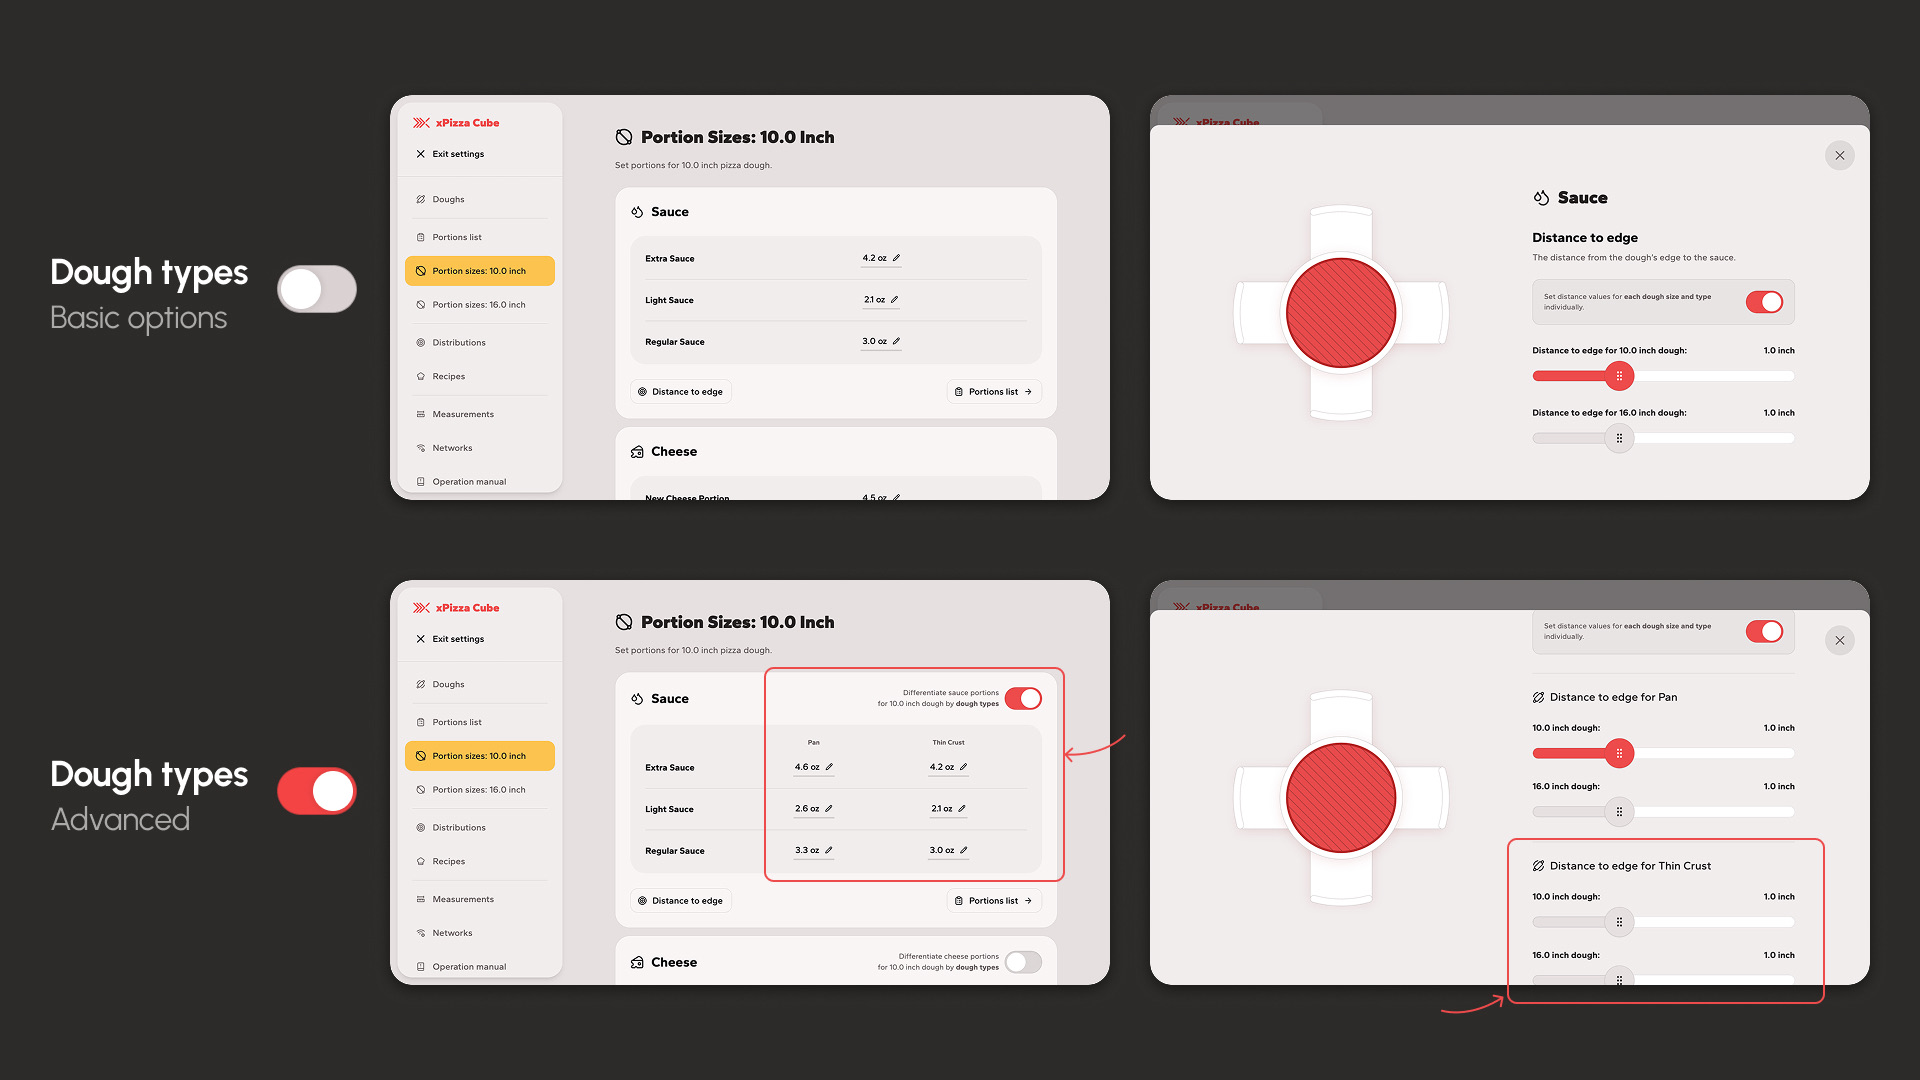
Distribution parameters — slice counts, positions, timing offsets — are abstract numbers that are hard to reason about under pressure. I designed an SVG-based visualization that encodes them into a spatial pattern: operators see the distribution rather than read numbers. The goal: understand the setting and effect of changes at a glance.
SVG format was chosen because it is easy to work with and it's not demanding on the performance.
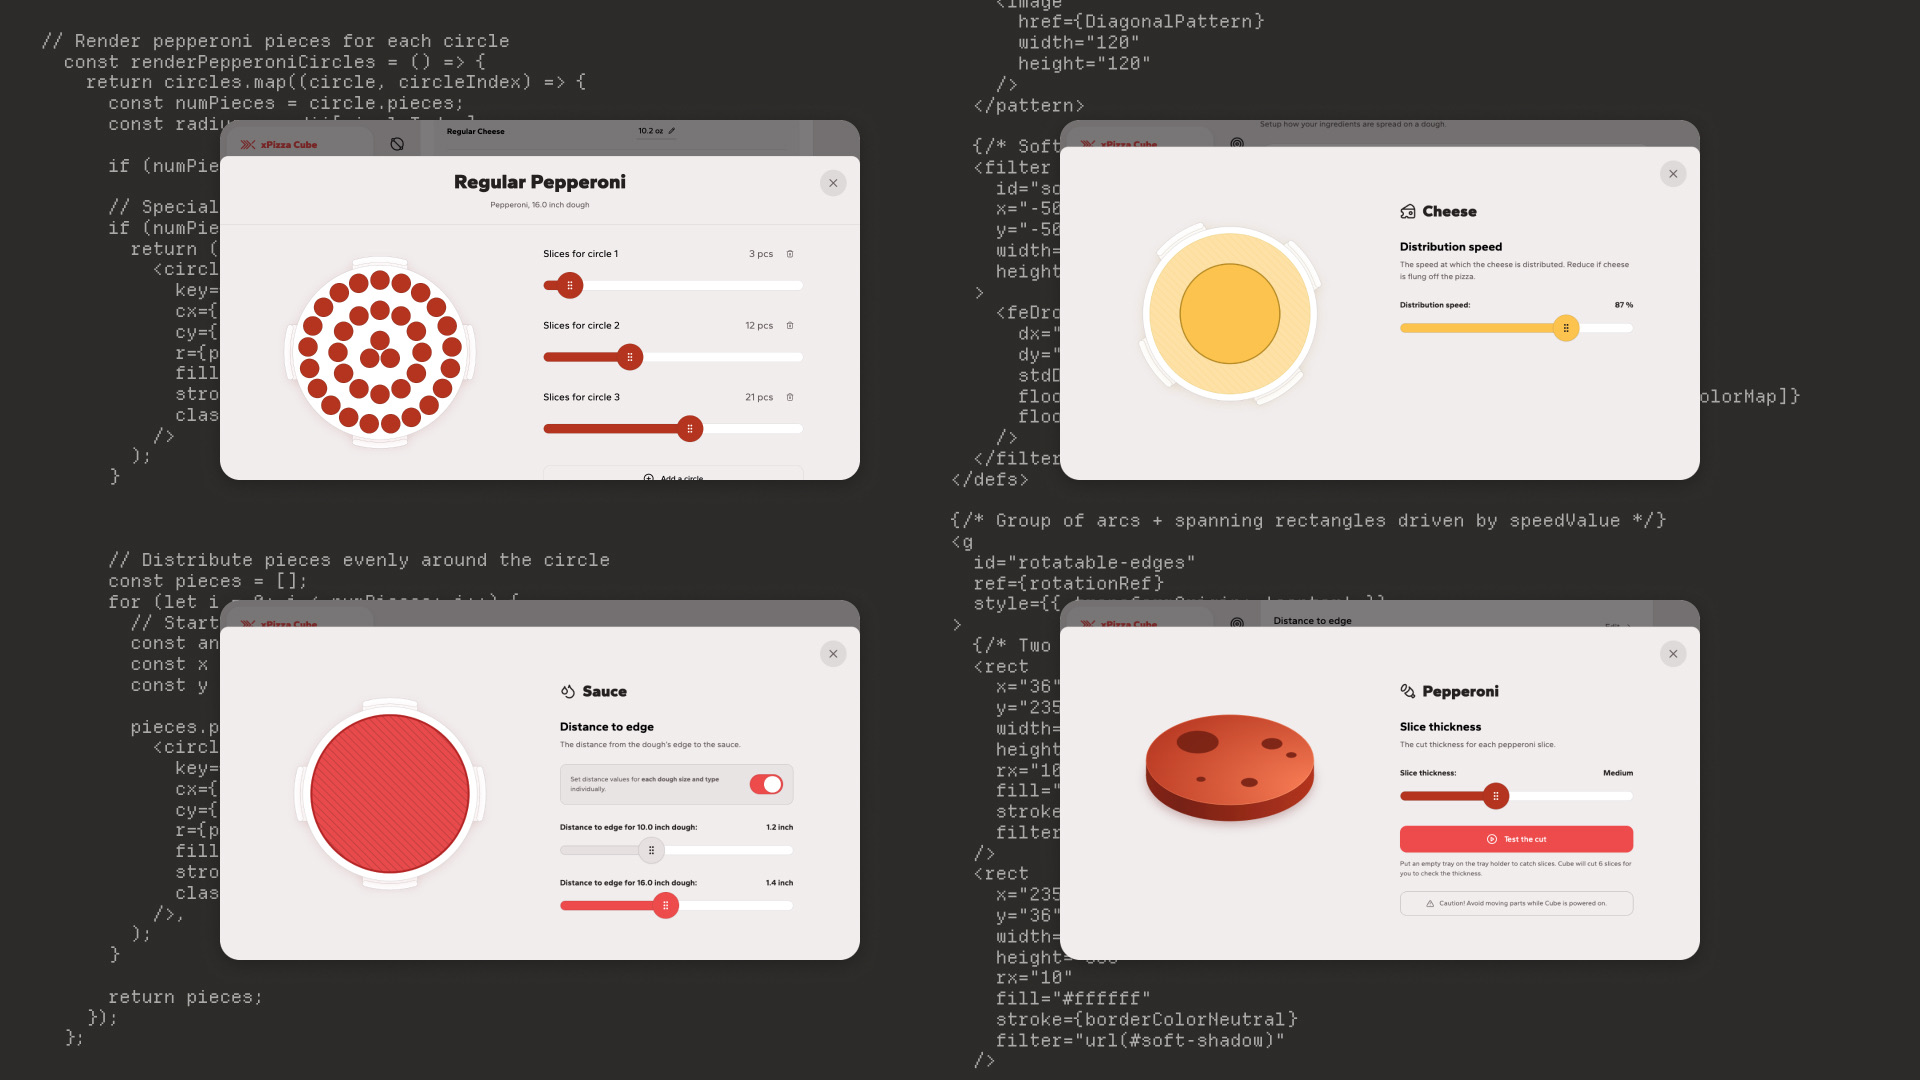
Aware of the limitations of the input methods and danger of misconfiguration (e.g. portions too big can cause the machine to stall or even break the equipment), we agreed on a contract with the engineering team to validate and enforce the input limits for portion sizes based on individual machine capabilities. Portion size options were treated a little differently — e.g., for speed we chose to use percentages instead of absolute values.
For slice thickness I used a slider with a step of 0.1mm under the hood but the user sees only text (thin, medium, thick, etc.) and added a "Test the cut" functionality because precision on the machine can't guarantee exact cut thickness.
Motion, micro-interaction, and corner-cases
Animated transitions between states reinforce changes without becoming a distraction. Motion is treated as a tool for UX clarity.
Cascading effects and guardrails
Cascading behaviors for add/edit/remove operations ensure configuration updates propagate predictably, reducing invalid states. There are a lot of interdependencies between settings, so we had to be careful about what happens when one setting is changed and what's allowed to change. E.g., if there is only one dough size, it can't be removed or reordered. If dough types are enabled, relevant screens and data should be changed.
The design details
Results and learnings
New locations now go live with a single operator in under 15 minutes — a process that previously took up to a week and required coordination between the owner, operator, support, and engineering. Same goes for any changes to the recipe or settings. Support requests dropped noticeably after launch. Exact measurement was difficult since I didn't own support reporting, but qualitative team feedback was immediate.
I prototyped the setup flows, built the frontend and API server, and delivered a working production repo. The settings UI is running in commercial locations.
What I would do differently next time:
- Ship smaller slices earlier to the end user. Limited API availability and the team's unfamiliarity with complex UI integrations created friction — delivering a simpler first version sooner (eg. only wi-fi settings) would have built trust and reduced uncertainty.
- Invest in a better testing environment. When the Jetson Nano bricked, I couldn't recover quickly and test the production environment without spare hardware. It was a minor risk for web-based UI but some sort of a sandbox or emulator would reduce schedule risk and align expectations with the team.